

dpratt1008
-
Content Count
10 -
Joined
-
Last visited
Content Type
Profiles
Forums
Blogs
Gallery
Posts posted by dpratt1008
-
-
Are you saying you unplugged the power wires to reset the unit, instead of using the reset button on the face of the unit? If you cut the power to the unit during an update you may have trashed it, I hope you're able to get it going.
On the AVIC-7000NEX there is not a reset button on the face of the unit, reset is indicative of removing power from the ACC line and re-powering the device. I made the mistake of disconnecting power from both the ACC and Power lines.
-
I think testmode_a lets you boot in android and testmode_n in the NOR bootloader or something, I don't know if you can have a script there on your usb key or something to reflash from here? Some people here knows more than me.
Or I guess you can open your unit to take the SD card out and copy a raw image of your firmware on it.
To do that I'll have to unlock my SD card, which hasn't been done yet. I'm gonna see what the state of my SD card is this evening after work.
-
From what I understand, on your USB key if you put the firmware AND the testmode key, from the menu you will be able to flash separate partition as you will. For instance if you fucked up your "platform" partition (/system), from this menu you can reflash it individually.
So I tried what you mentioned...use the Write Programs Forcibly method on the testmode key with the USB drive containing the firmware items following these steps:- Built the testmode key with the firmware I wanted on the same USB stick.
- Put it into USB1, powered on the unit.
- Selected Write Programs Forcibly, pressed HOME.
- Selected Write Bootloader, Pressed HOME.
- Selected the USB, saw the correct version information, Pressed HOME.
- Device reset, and when to Update Failed screen shown in pic.
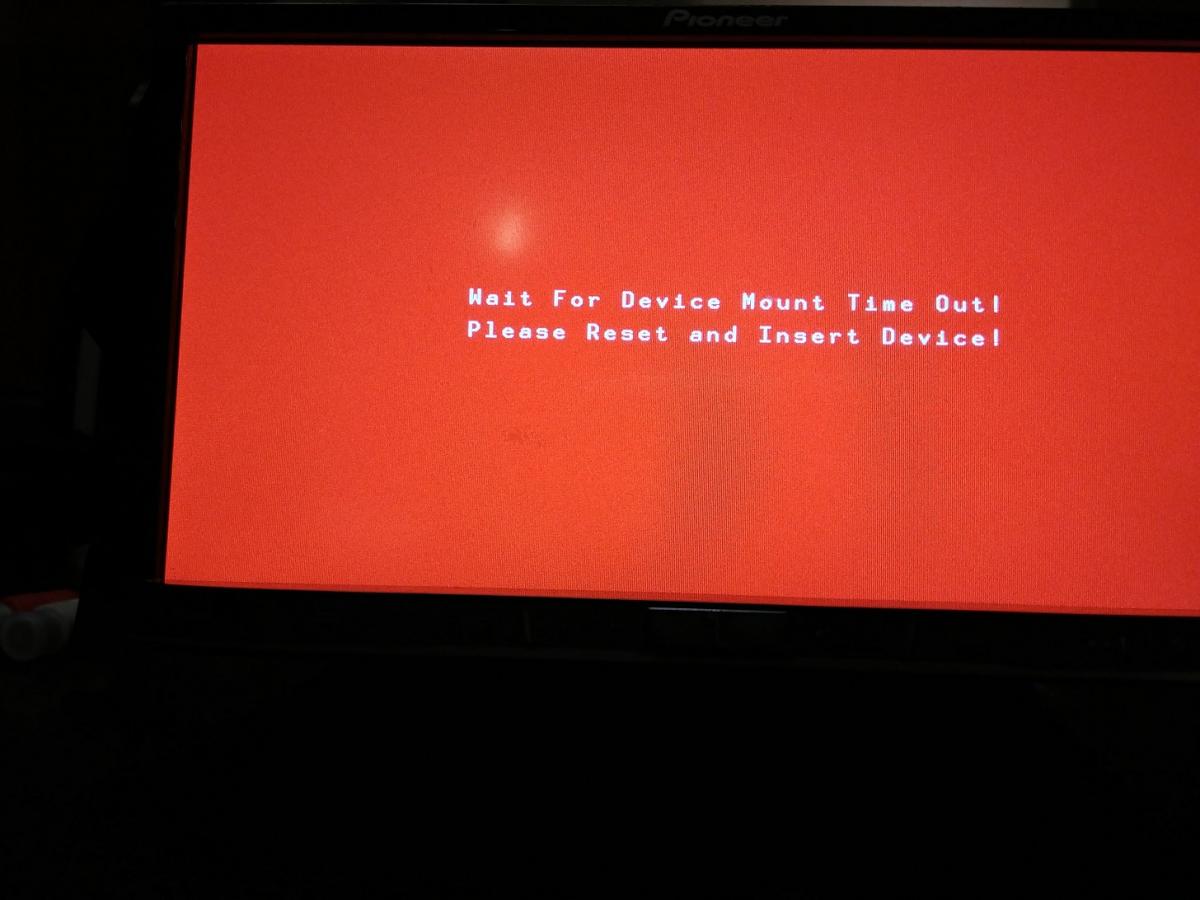
- and now it's just stuck on this screen...and pressing Home to reset just brings it back to this. Removing the USB key makes it remain on the Device Mount screen until a timeout occurs. See pics.
Pretty much stuck there for now. Can't seem to get it to boot into any other functionality. -
If you just want to upgrade your firmware you do not need the testmode key, what do you want to do exactly?
I want to update the firmware. But when I do that, it fails immediately regardless of what firmware version I use. The OS reads the flash drive properly, detects the new version of the firmware, but then when I press Confirm to have it go through the update, it jumps immediately the "Update Failed!" screen. I've tried multiple USB drives and multiple versions of firmware. This is why I feel something is corrupt,because when I reset the device, and it reads the USB key to do a firmware update after the failure, it says Update Progress... "v 1.01 - > 1.01" which is clearly wrong. So basically something corrupt is preventing my unit from updating firmware so I wanted to restore/flash new recovery and boot partitions to potentially fix this issue with the testmode key.
-
I don't know for the 5000, but I have a 5200 and there is a BOOT folder in the firmware.
I have some background on unix and for me, the "write" will do a raw copy (using the dd command) of the file image directly into the partition.
Just for confirmation, I'm working on an AVIC-7000NEX, but from what i can tell, the firmware update is applicable to 5000/6000/7000 series units.
Is there anyway I could peek into the testmode_a.key file that is found in the InternalSDCardBackup.zip, NORFlashBackup.zip, and the Jenkins online build utility that creates the archive.zip file to see how the method is defined?
Could you ELI5 what this process you're describing would be? e.g.
- Format USB drive (2GB or larger) to FAT32 and copy the contents of the CopyContentsToUSBDrive folder from the Jenkins build archive.zip file to the USB key.
- Copy the AVIC5000NEX folder from the firmware archive file downloaded from Pioneer to the USB key.
- Insert the USB drive into USB1 of your NEX unit and power on.
- The unit will reboot into Technical TestMode.
- Use Vol- button to navigate to Write Programs Forcibly and press Home button.
- Use Vol- button to select Write XXXXX and press Home button to execute that dd copy from the USB key to the internal SD card partition.
- etc...
Am I misunderstanding what this process would look like? This is why I'd feel more confident if I could see how these methods are defined or someone could explain their interpretation of them from some internal knowledge of the Tecnical TestMode interface.
-
From what I understand, on your USB key if you put the firmware AND the testmode key, from the menu you will be able to flash separate partition as you will. For instance if you fucked up your "platform" partition (/system), from this menu you can reflash it individually.
My biggest concern is the AVIC5000NEX folder that is extracted from the firmware downloads on Pioneer's site isn't the direct files that end up on disk when you update the firmware. For example, based on your description, if I have the AVIC5000NEX folder that contains the firmware updates, and I boot from the testmode_n3.key, select Write Bootloader, there isn't a folder in that firmware directory titled BOOTLOADER, so what does that function do? Your logic may apply to the functions Write Recovery Platform because in the firmware files there is a RECOVERY folder, but there's also a PLATFORM folder.
In essence, it sounds like the Write Recovery Platform option in the menu invokes a method or function like writeRecoveryPlat(Arg1, Arg2, ...) where the arguments this function would need would be a directory for source files, a mount destination to put the files, and any necessary unpacking parameters if the files are not just files on disk. but since I didn't create the key, or the list of menu options available, I was hoping someone could provide that information.
I'll have to admit I'm trying to ramp up on everything mentioned in this thread, I'm not a Linux or Android developer, but am familiar with scripts and general programming and software concepts. I'm just new to these specific concepts and file/folder/partition structures. The last thing I want to do is try something I think I understand only to fuck up my unit further. I was hoping to find a simple write-up that just explains what the functions do and their dependencies.
-
On the testmode_n keys, what do the Write Program, Write Bootloader, Write Boot, Write Recovery Platform, Write Opening Data options actually do?
From my reading, isn't the bootloader information in the NOR/BSP memory unique for each model number? I'm having issues with my unit immediately failing firmware updates so I believe some piece of my default system is corrupt and causes the firmware update to fail as soon as it starts...so I was hoping i could restore all of these things and not mess up my unit. But I didn't want to use the features on these testmode_n keys without understanding what they do?
-
Hey Gostek,
My unit was exhibiting similar behavior. I follows steps 1, 2 and 3 on this thread, once I completed the Copy Script method on step 3, my unit was able to boot into its operating system instead of booting into the "Reading..." and "Update Failed!" screen as your first two screenshots show.
I'm still unable to upgrade the firmware on my unit but it got it back to a functional state.
-
Hello All,
First post here...so let me know if this needs to go somewhere else.
TL;DR: I got my unit to boot back into the OS after step 3 of this thread, but it still fails to update the firmware when I try.
My 7000NEX was still running FW version 1.012. I decided to update the firmware to 1.15. I downloaded the file, read the instructions, formatted the flash drive, turn off AV source...basically tried to be a good boy and follow the instructions.
My unit read the USB key, notified me that I was upgrading from 1.012 to 1.15...I confirmed by clicking on Continue. I was eventually prompted to reset the device, which I did, but when I reset it, I disconnected both the ACC and PWR wires. Upon powering back on, it went to a screen that said "Reading...", then to a screen saying "Update Failed!" "Press HOME to continue"
At this point...I got stuck. I tried multiple flash drives, redownloaded the file from pioneer's website...All I could get it to do was say "Update Progress,,," and "version 1.01 to 1.01" even though my USB key had the 1.15 firmware on it, then it would go back to "Update Failed!"
Anyway, I decided to dig deeper and try to find a custom ROM that I could hopefully just push onto this thing and found this thread. Obviously this is a treasure trove of information but I'm still stuck. From that thread, I followed steps 1, 2, and 3...(e.g. backup my NOR, BSP, and SD Card) using the Script Mode instructions. After step three though, my unit FINALLY BOOTED BACK UP INTO THE OS!!!! At first I was super ecstatic and thought "Great! Now I can try to update my firmware again and not make the same mistake!". WRONG...
Now when I go through the instructions, and try to update the firmware...I get to the confirmation screen, it shows the right firmware jump, but it immediately goes to a "Update Failed!" screen again as soon as I confirm.
I haven't tried other FW versions like 1.06, 1.08, 1.10, 1.14...though I do have the files. I'm just trying to figure out what I should do next? In the Test Mode that the USB key from the linked thread, there are functions like Write Bootloader, Write Programs, etc... and i'm wondering if I can use those to clear or fix whatever's still corrupt under the hood to allow any firmware update?
Anyone have any clues?


The AVIC Development Mod
in NEX Series
Posted
So I can't successfully get the Transcend 8GB SD card inside my 7000NEX to be recognized by my windows PC. I'm not entirely surprised given this thing is what, formatted for a Linux/Android OS? So I'm still trying to figure out how to go about confirming the state of my SD card and it's configuration. Any guidance or input would be helpful if anyone has insight how to successfully read the contents of the SD card from windows if it hasn't been unlocked using the methods described in this original thread.