

IAmSuperBleeder
-
Content Count
45 -
Joined
-
Last visited
Content Type
Profiles
Forums
Blogs
Gallery
Posts posted by IAmSuperBleeder
-
-
Quick question for you guys? What plug are you guys using to connect to the X930? Doesn't android use a HDMI interface. I would really appreciate your help. I'm ready to dump my IPHONE. THANKS!!
none; with the 940 firmware it talks to the radio via bluetooth
Pandora works like it should, but the sound quality is garbage...
also, just as an update, I just got a new (to me) phone, an LG Lucid running ICS, and installed the Aha app which has definitely updated since the last time I used it. FaceBook works now, but still no preset Slacker stations are showing up...
-
So just yesterday I updated my X930BT to the 940 firmware. Everything seems to be working great so far. Bluetooth pairs and works great; Pandora functions like it should, and Aha connects as well.
However, when Aha Radio connects, I'm only shown 4 default presets; Hotels, Traffic, Coffee, Hungry
I have 12 other presets saved in Aha on my Android power phone (rooted HTC Thunderbolt btw) through Slacker radio, and even Facebook, but none of them show up on my presets on the unit in the truck.
Is this just all the capability Aha radio has with Android? Am I missing a step or a setting somewhere? Anyone else in the same situation?
-
dude it's ridiculously easy, just takes time to download the update and install it to the unit; the process itself is EXTREMELY simple now though!
yes, modding with a hex editor is little more difficult, but as long as you follow the instructions posted here in the forms it really isn't all that difficult. I've never messed with a hex editor before, but after some reading I was able to removed the "caution: screen may be reversed" text from my backup camera AND bypass the navigation caution nag screen; was actually more simple than it looked!
Thanks to guys like pionara, all these mods are getting easier and easier

-
did you try it a few times? for some reason it took me about 4 times to touch the right spot, but once you find it it works. you have to hold it for about 3 full seconds
X930BT with 940 firmware, but same thing
-
This works great on an X930BT updated to the 940 firmware using super testmode, thanks!
I don't suppose there's a way to make the text area larger so that you could put a few more letters?
-
same thing here... I updated my x930bt today and when I launch Aha, all that shows up is hotels. traffic, coffee, and hungry. I have 12 other presets in Aha via Slacker as well as Facebook.
this wouldn't have anything to do with the advanced app functions that are only with the iPhone, would it?
Pandora is okay, but I've been using Slacker for almost two years now with an upgraded paid account, and I've really come to like it...
-
-
Just did it on my X930BT without a single hiccup
Downloaded the update via torrent and unzipped it's contents into a folder. Downloaded the updated VERINFO.DAT file and put it in the \Update directory of the unzipped files, replacing the previous file in the folder. Then placed the 3 files on the SD car; FIRMWARE folder, Update folder, and CARDINFO.cif
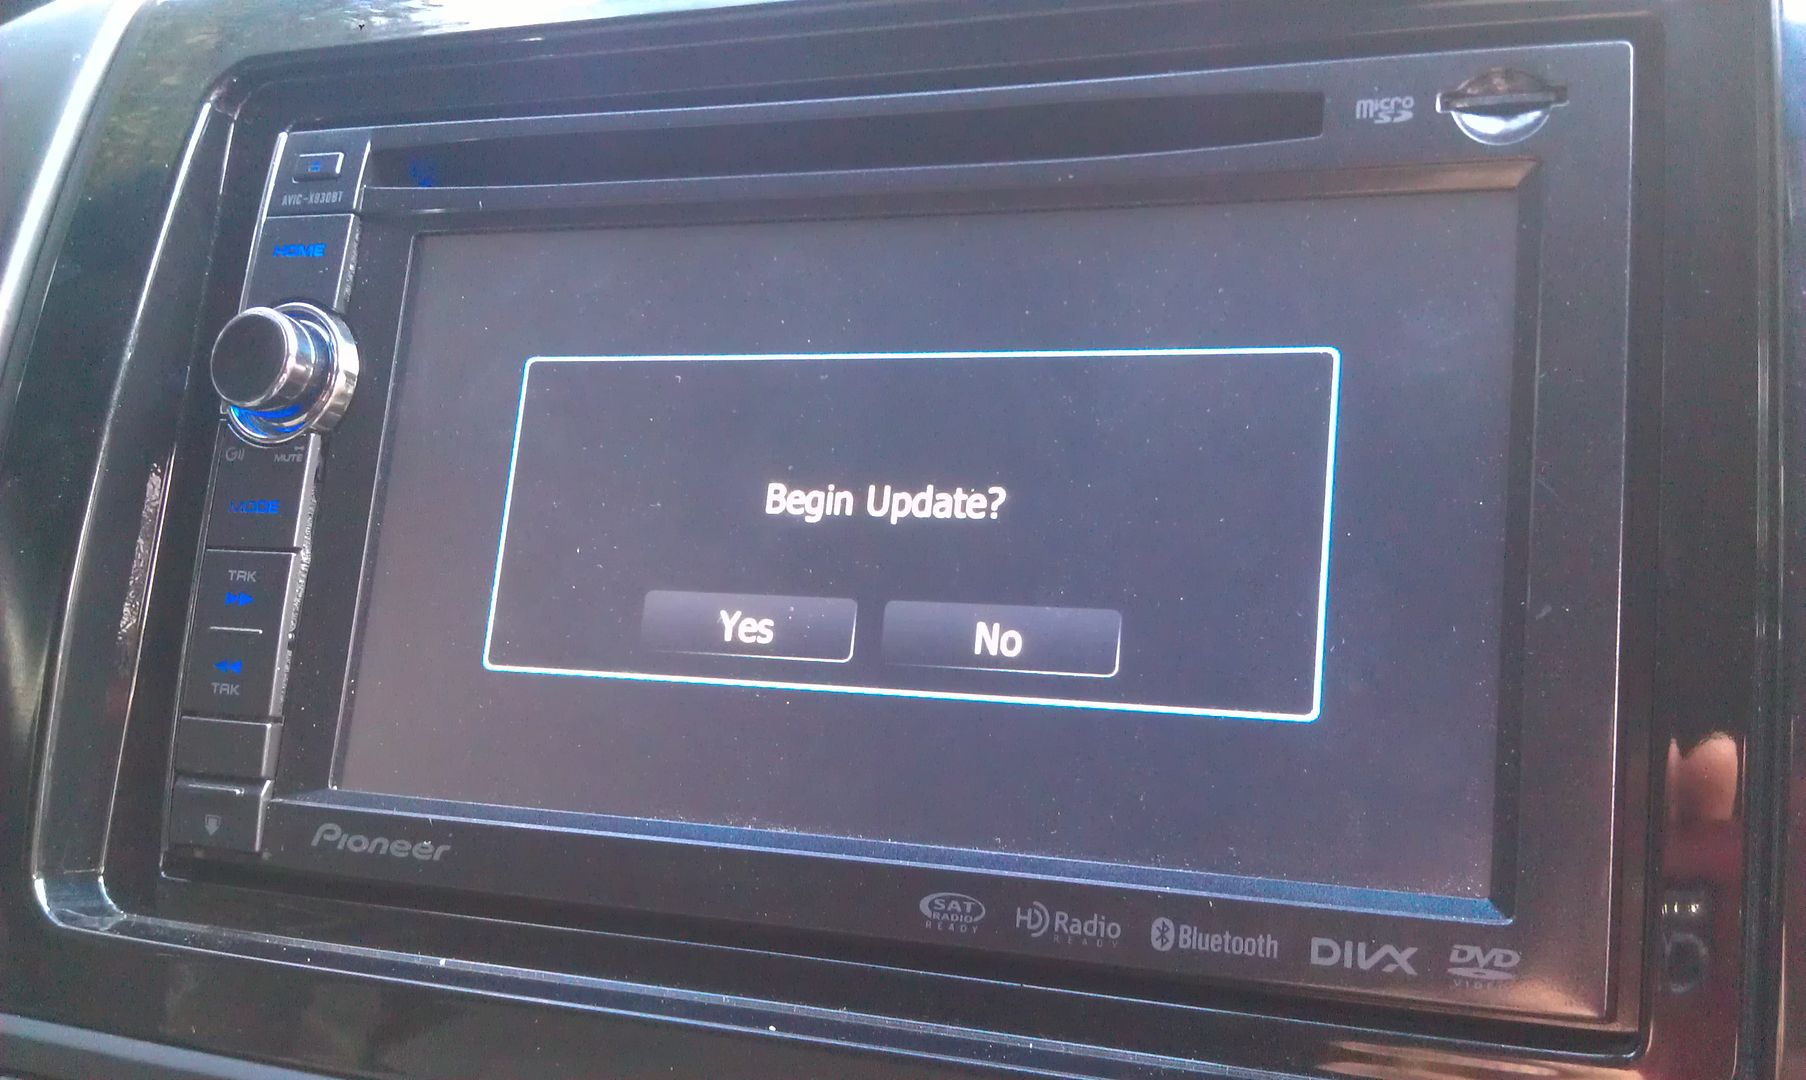
Powered the unit up, popped in the SD card, and within about 5 seconds it picked it up and asked to start the update.
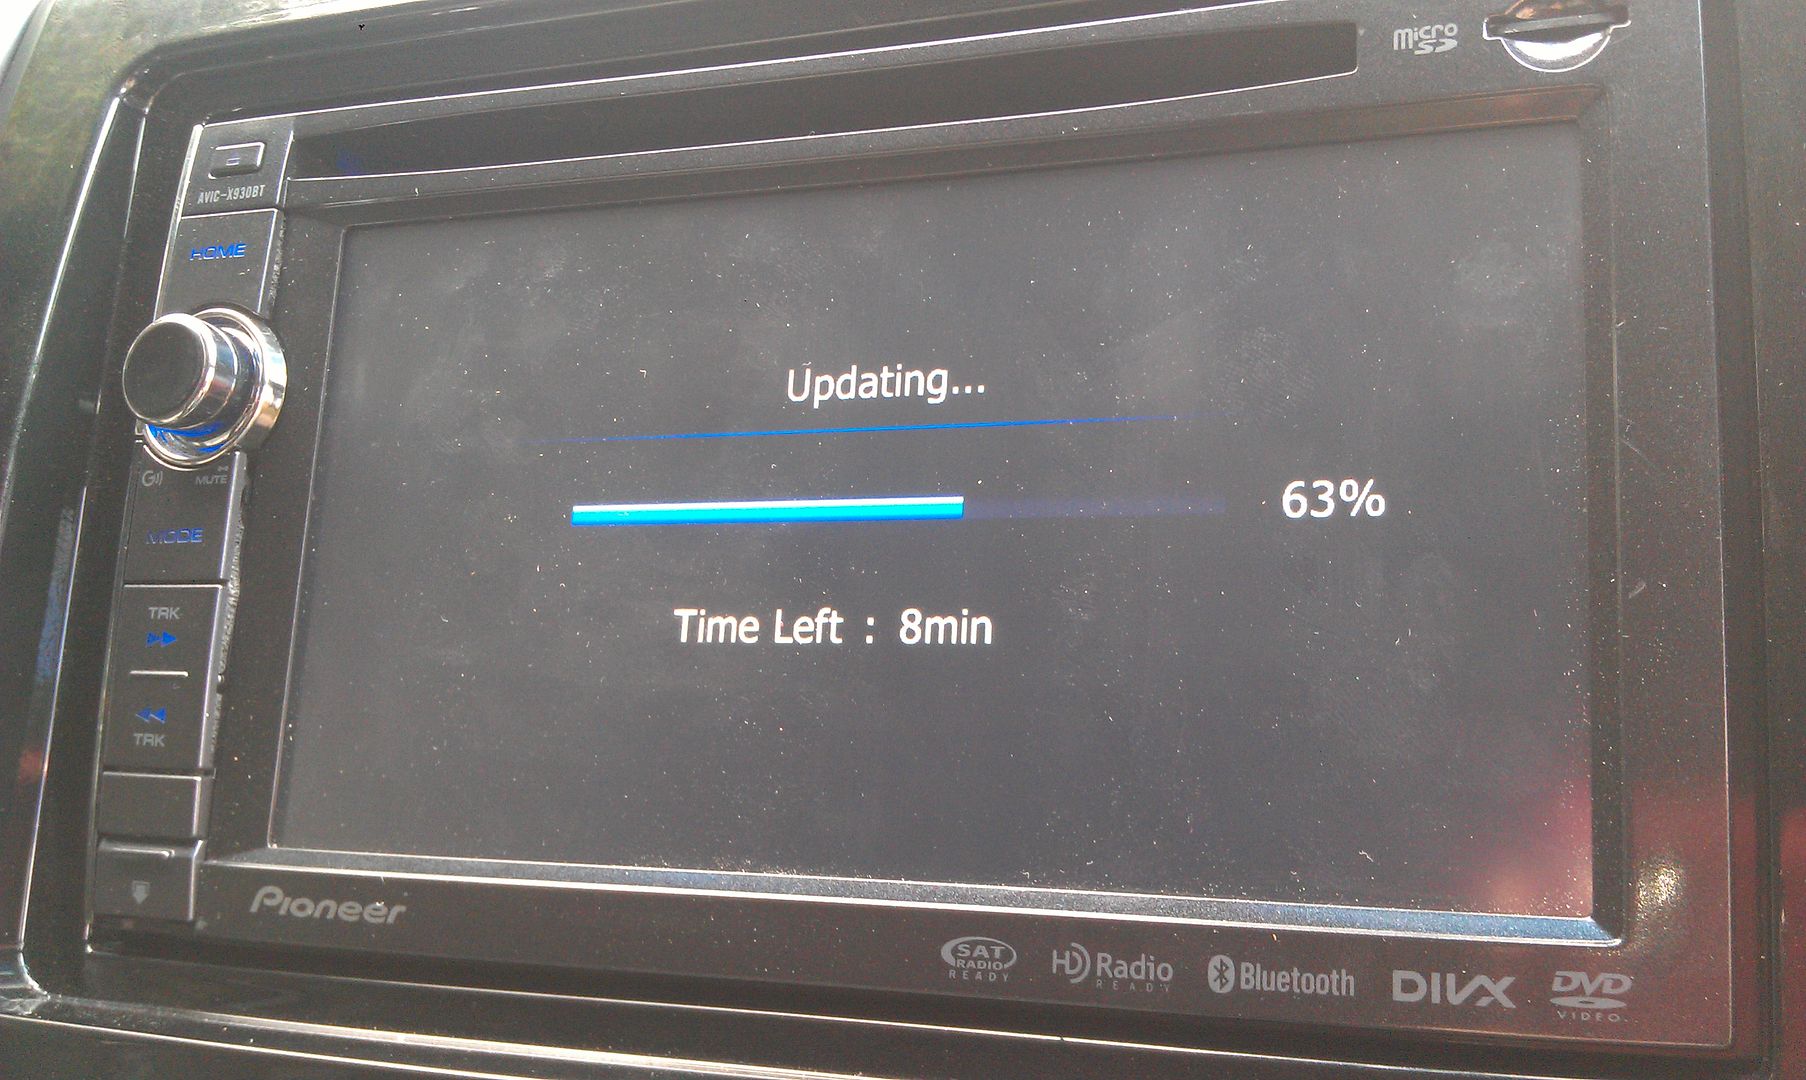
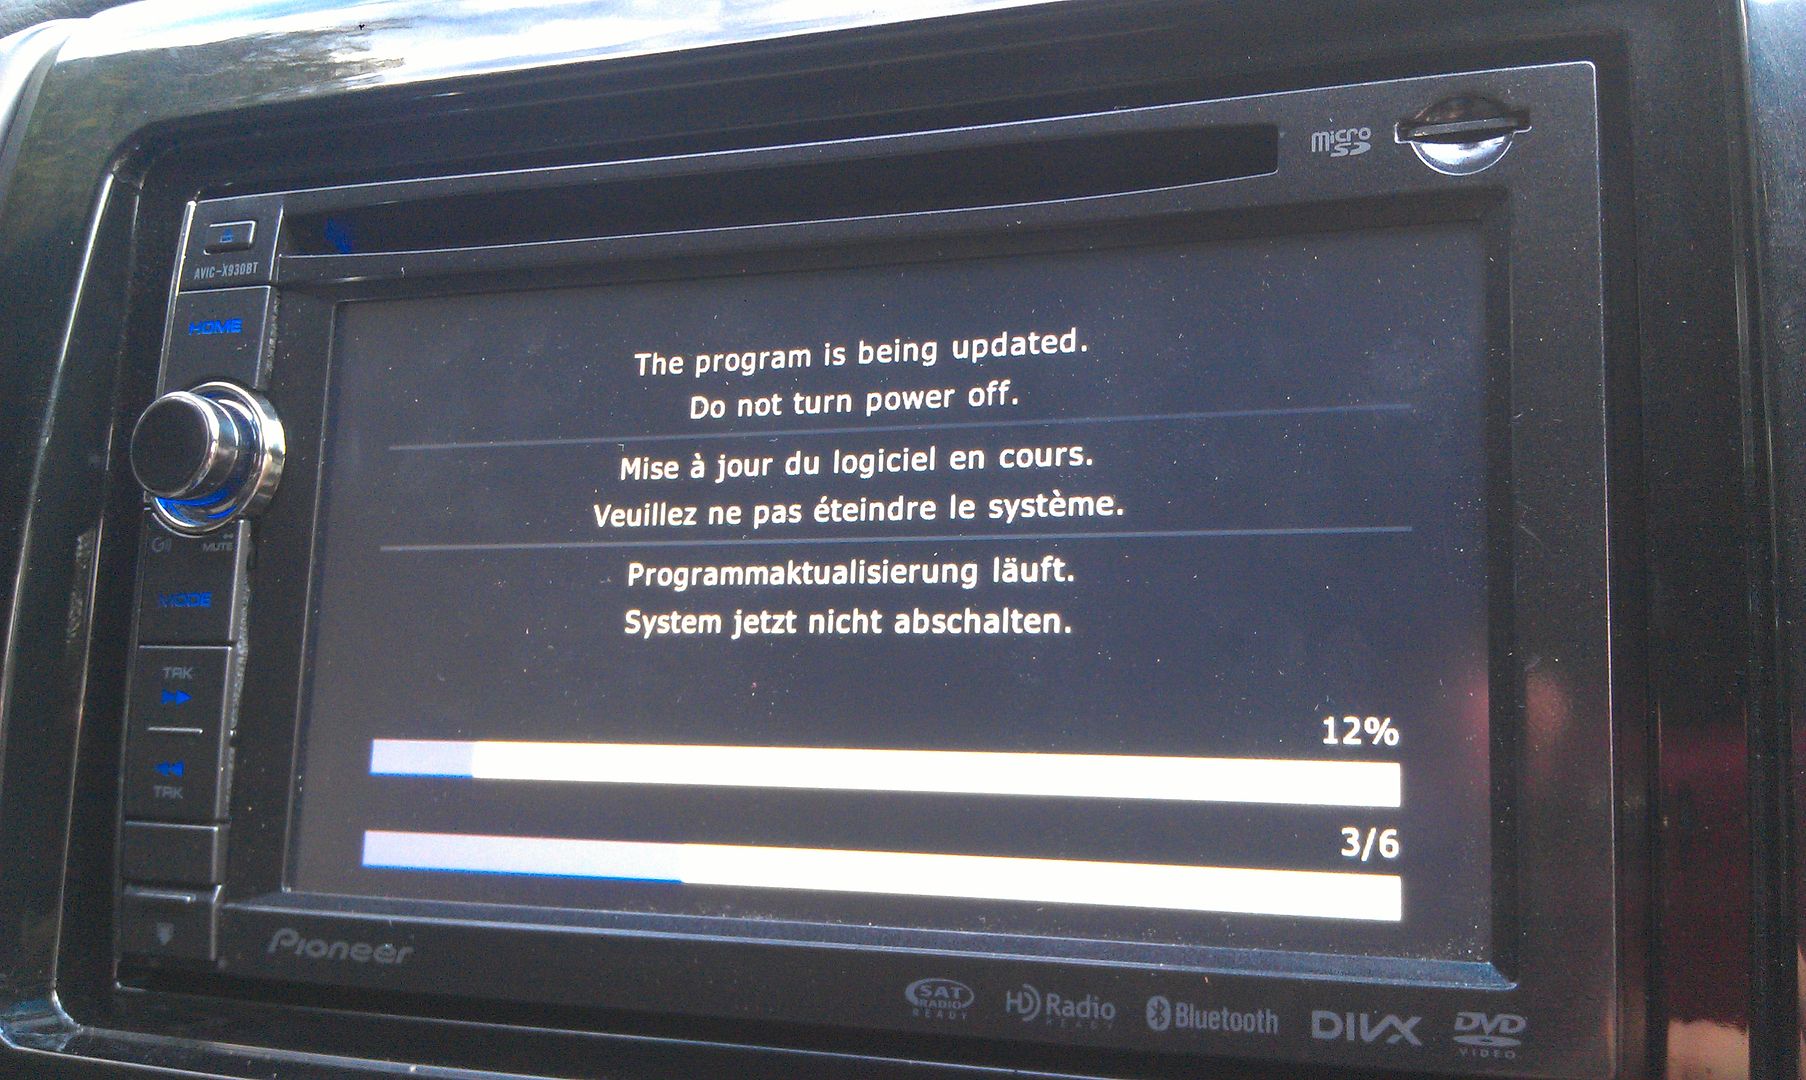
That update process took about 20 minutes
Once that's done the unit reboots and finishes updating
After that, you're greeted with language setup options
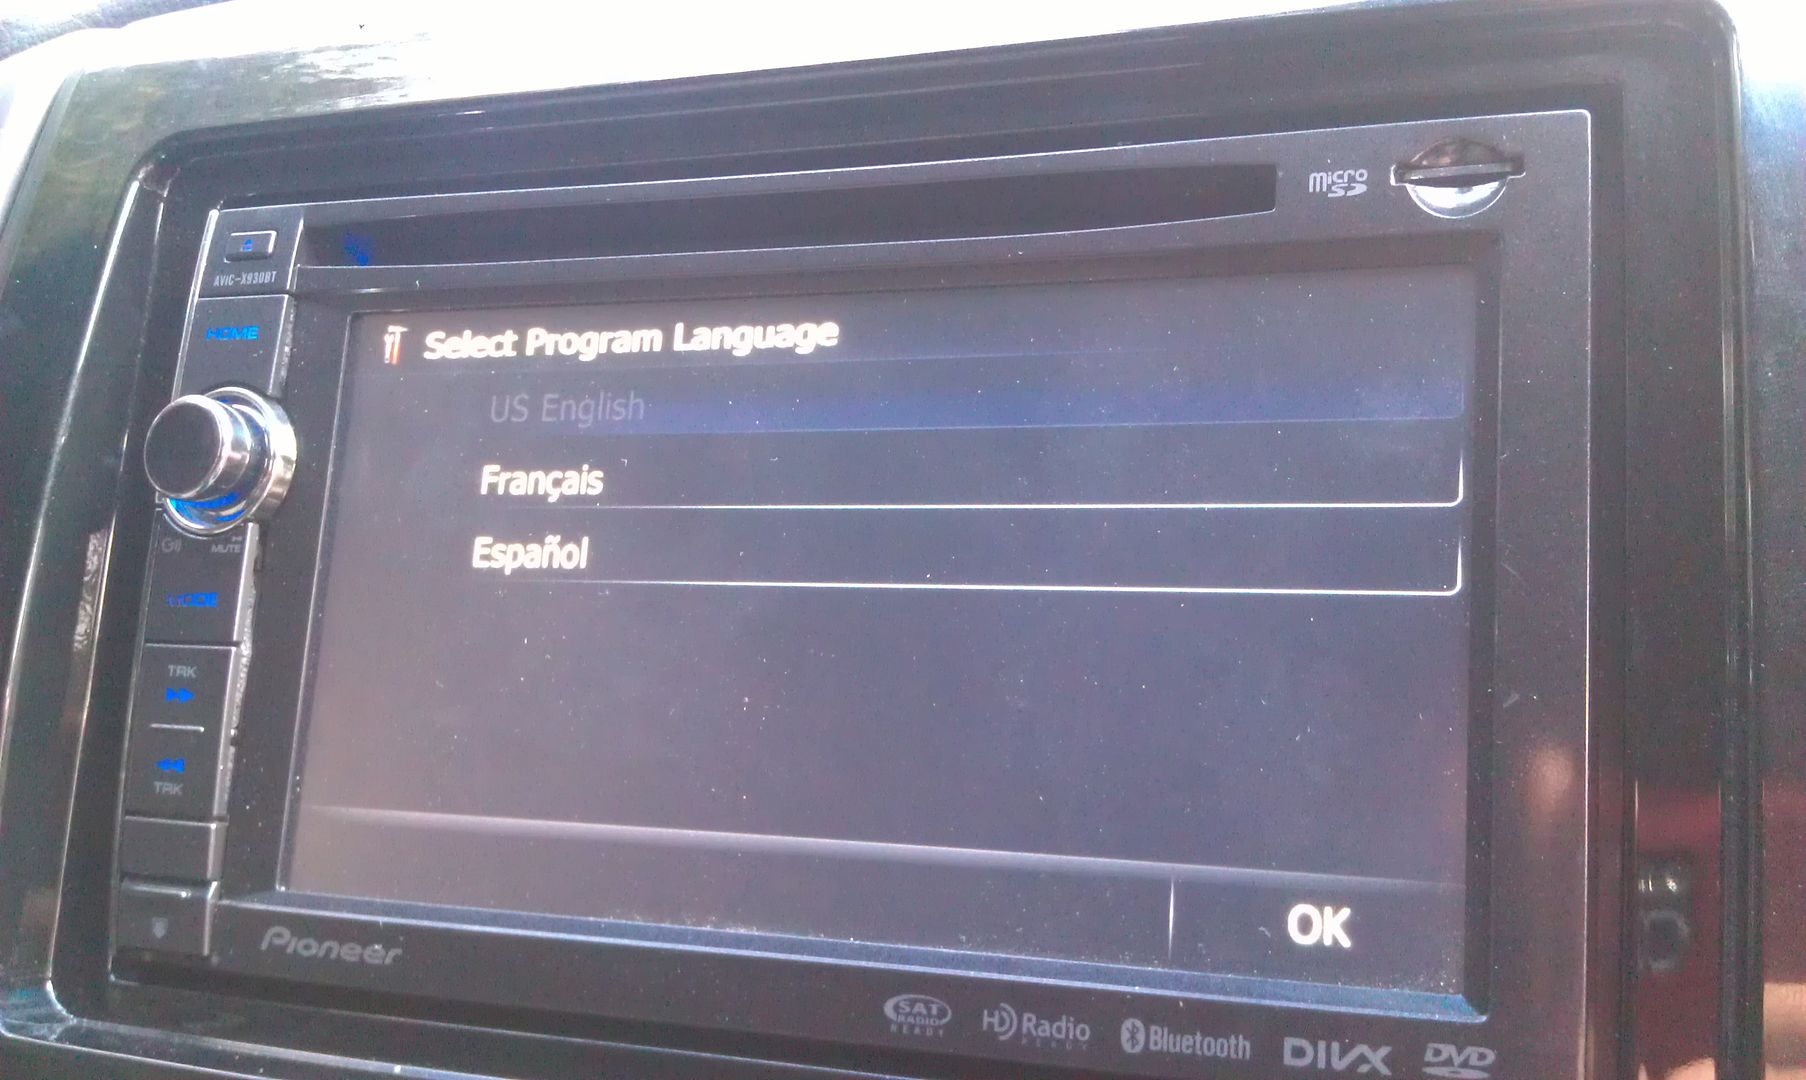
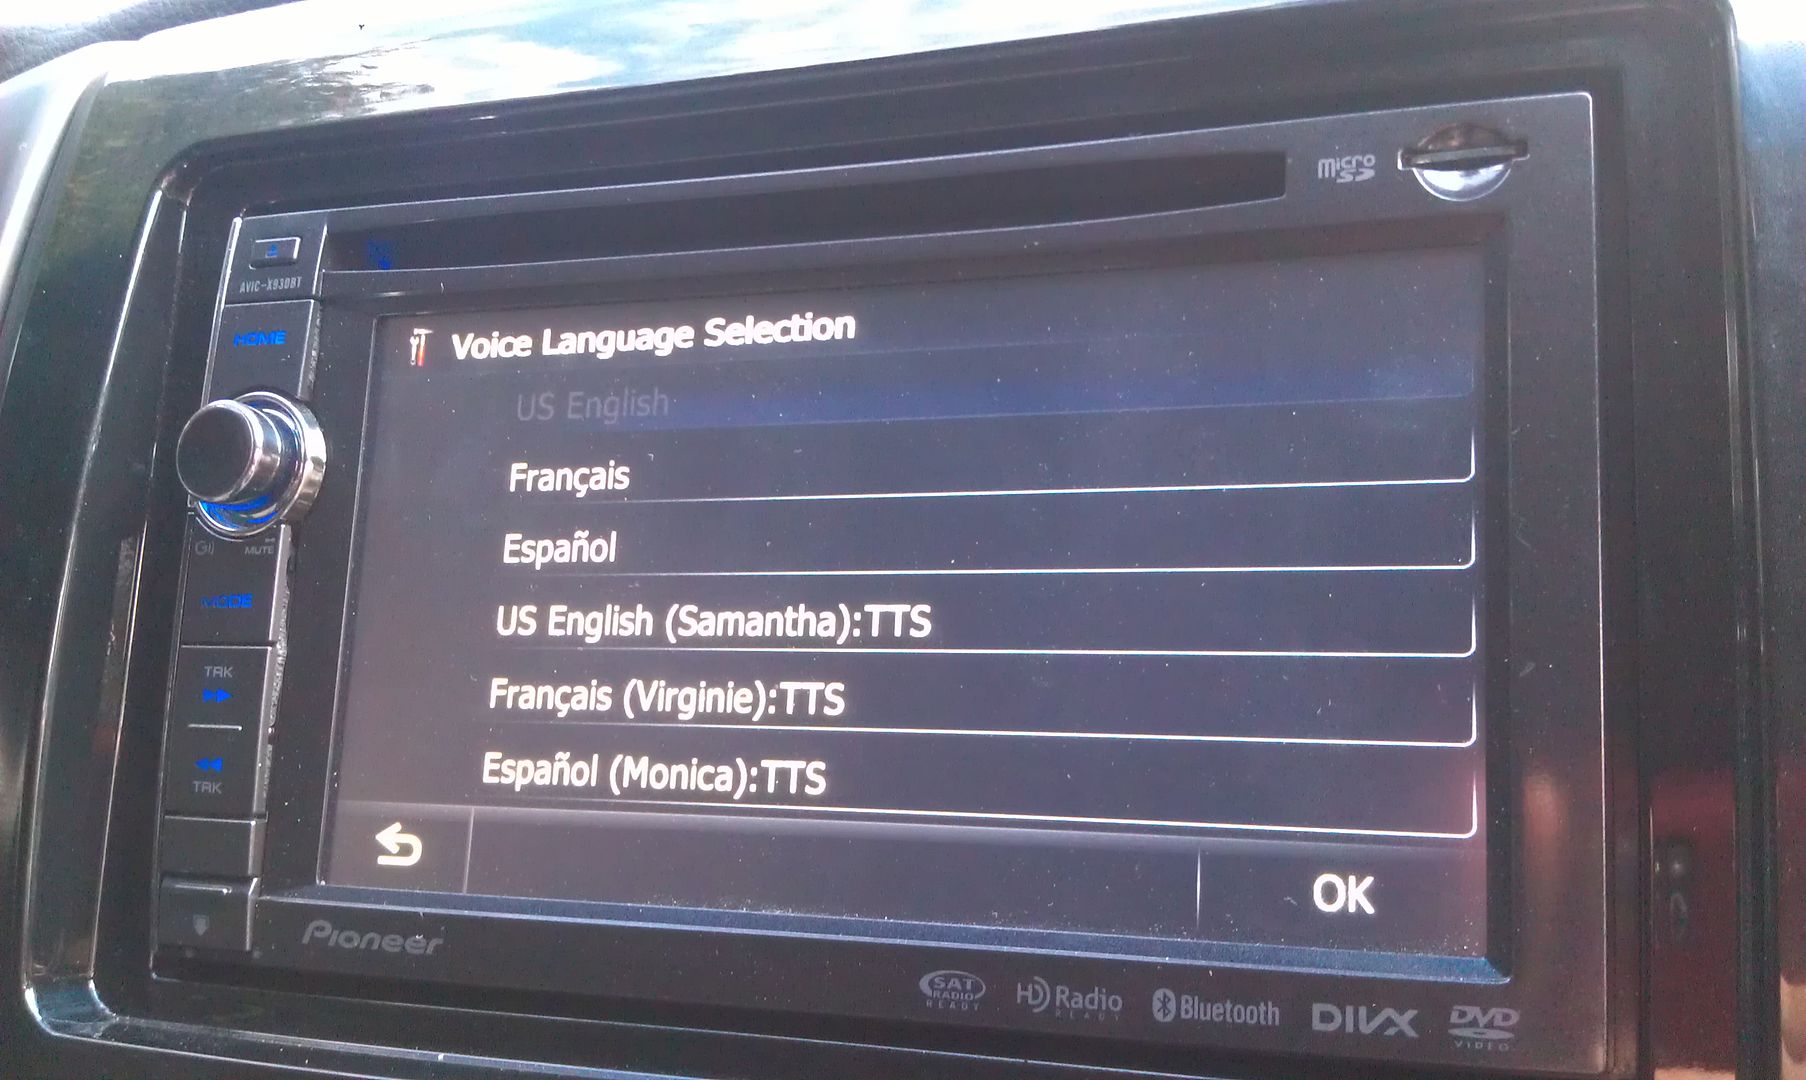
Once that's done, the update is complete!
By the way, if you're using a custom start up splash screen (as I am), you will not see any 2012 Pioneer splash screen for confirmation, because you're custom one is still going to show, so don't freak out when that doesn't show up upon the unit rebooting, lol.
After you go through the language setup, it's going to ask to do the update again. If you don't want to sit there for another 20 minutes, hit no...
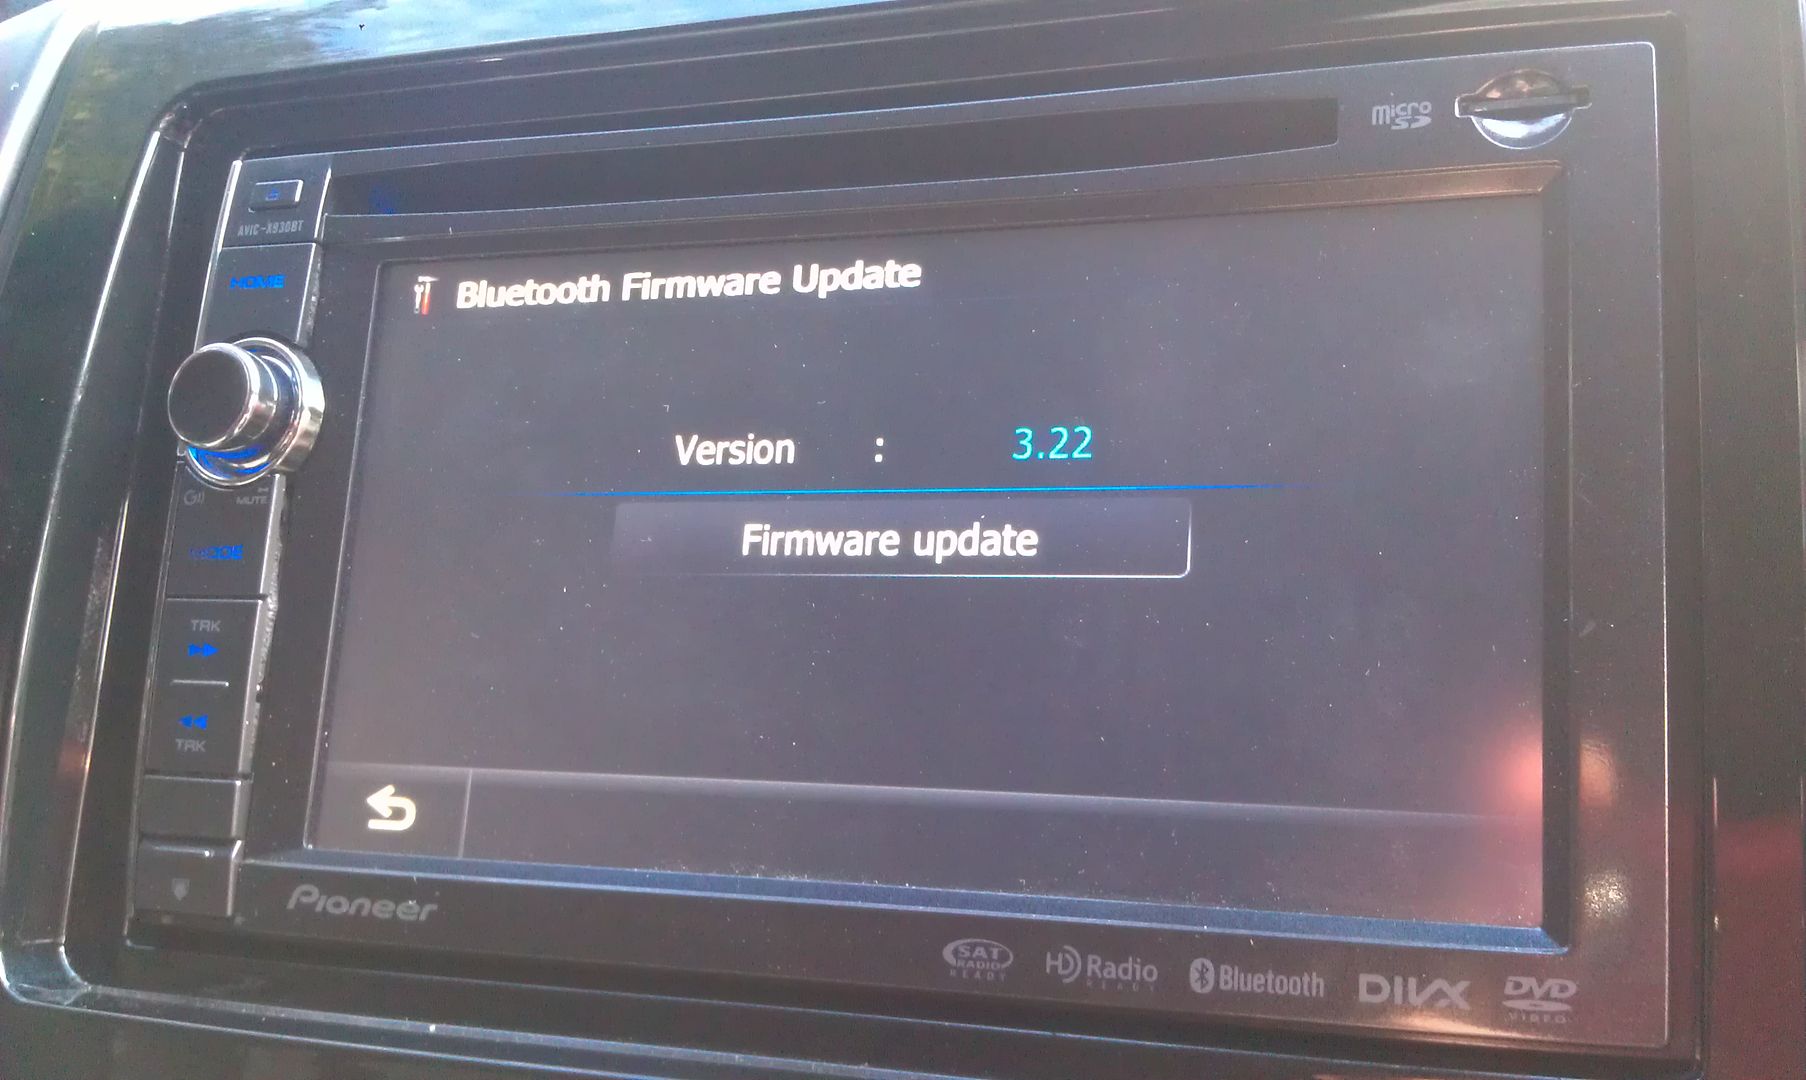
To update the bluetooth firmware, go into your settings menu
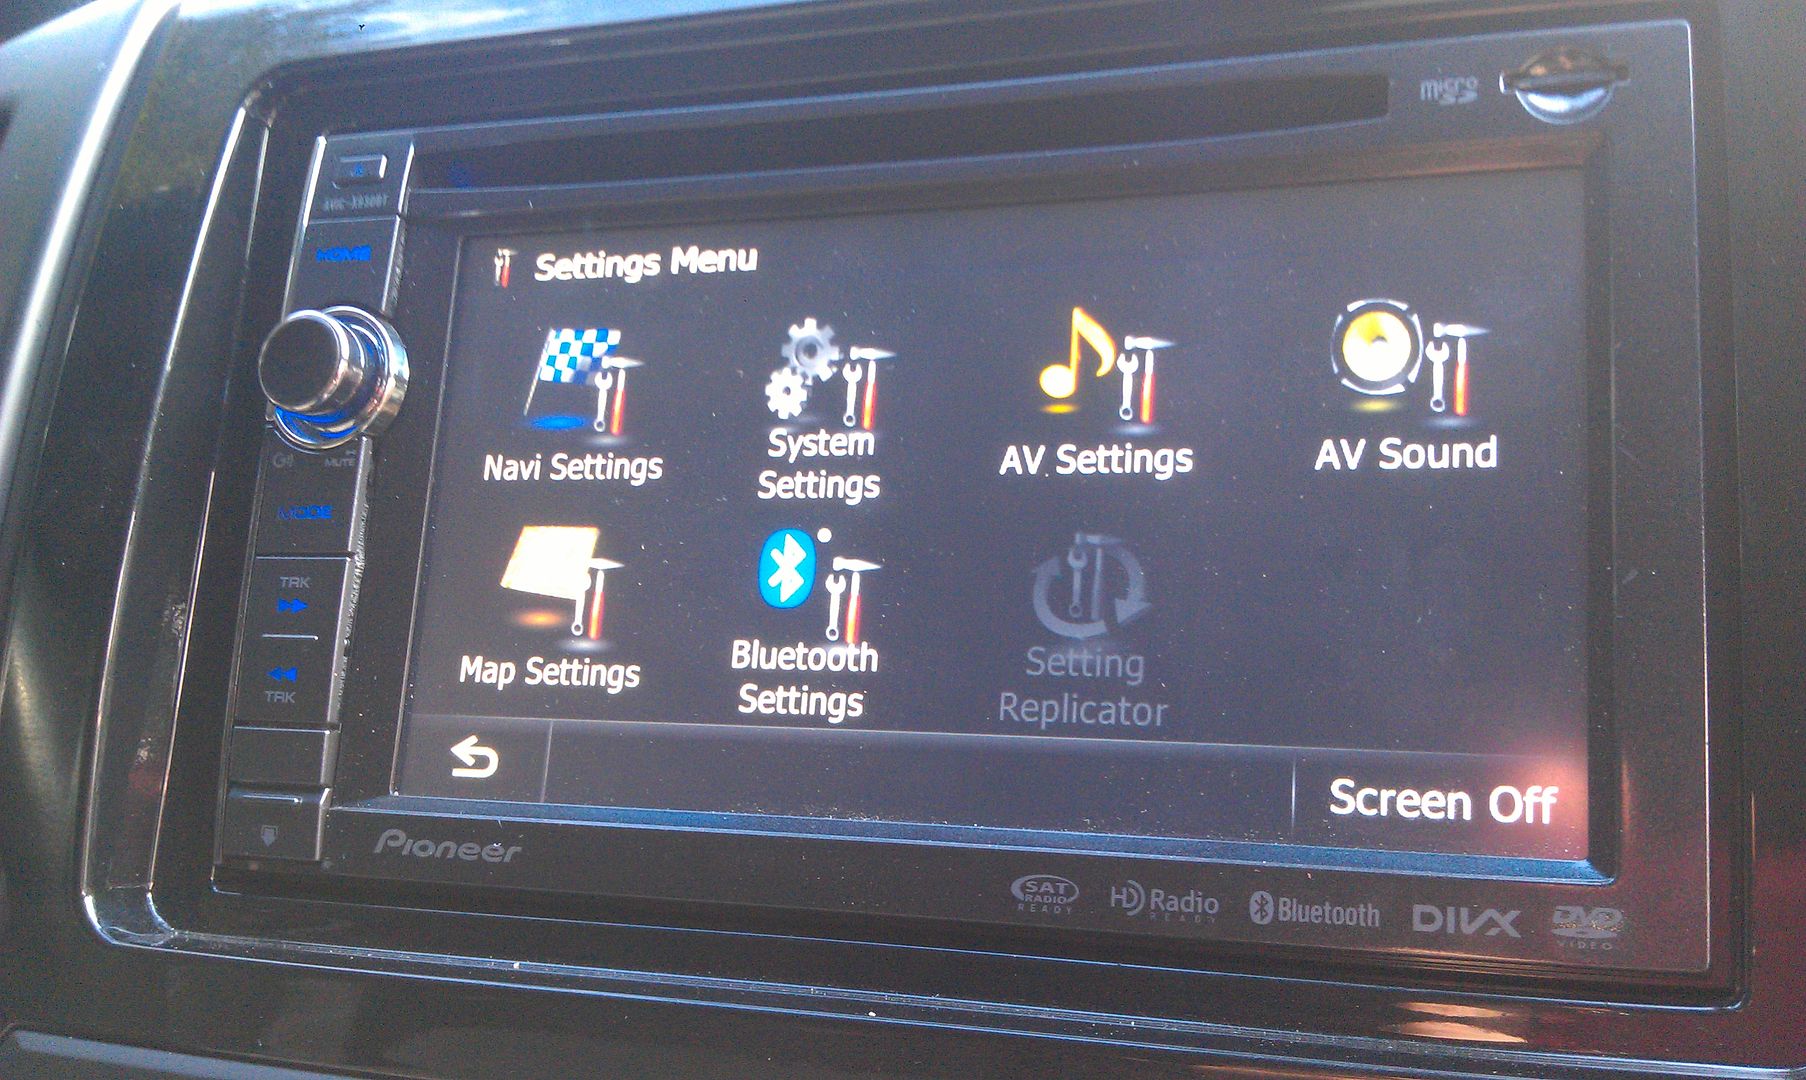
Go into the bluetooth settings menu, and scroll to the bottom where you'll find the firmware update option
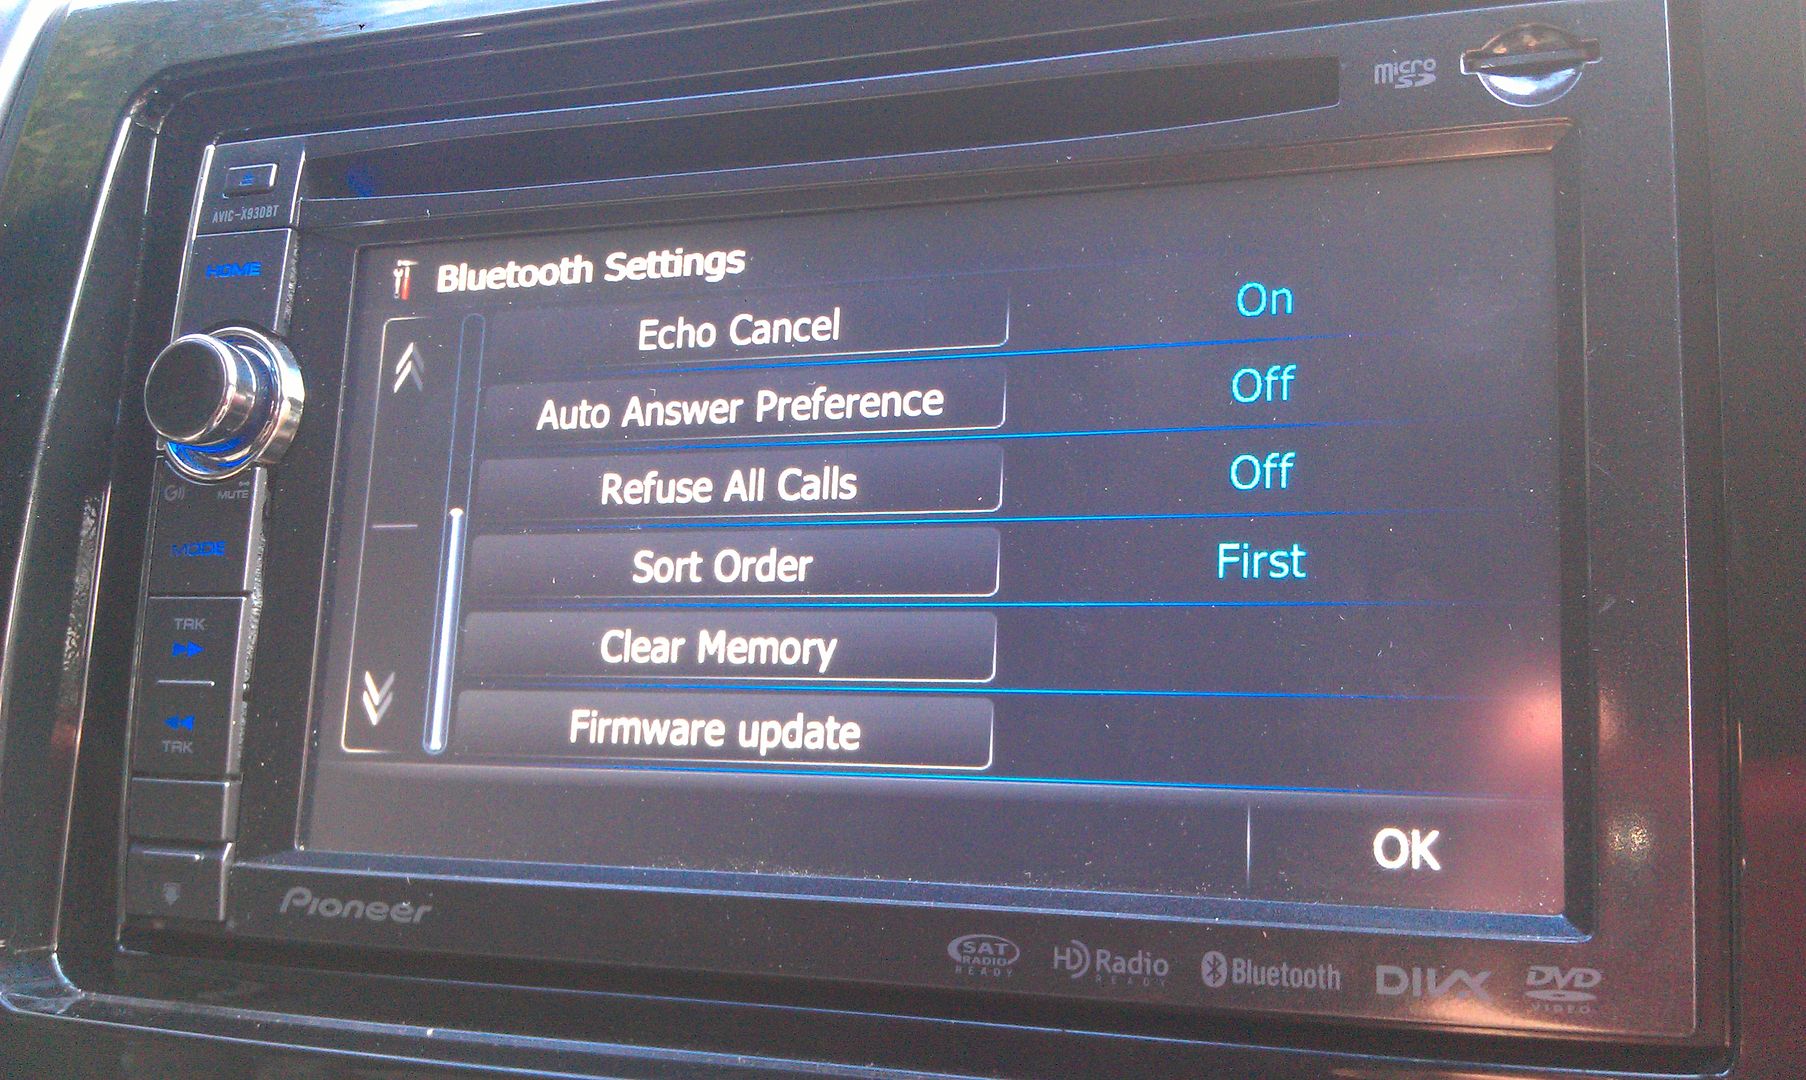
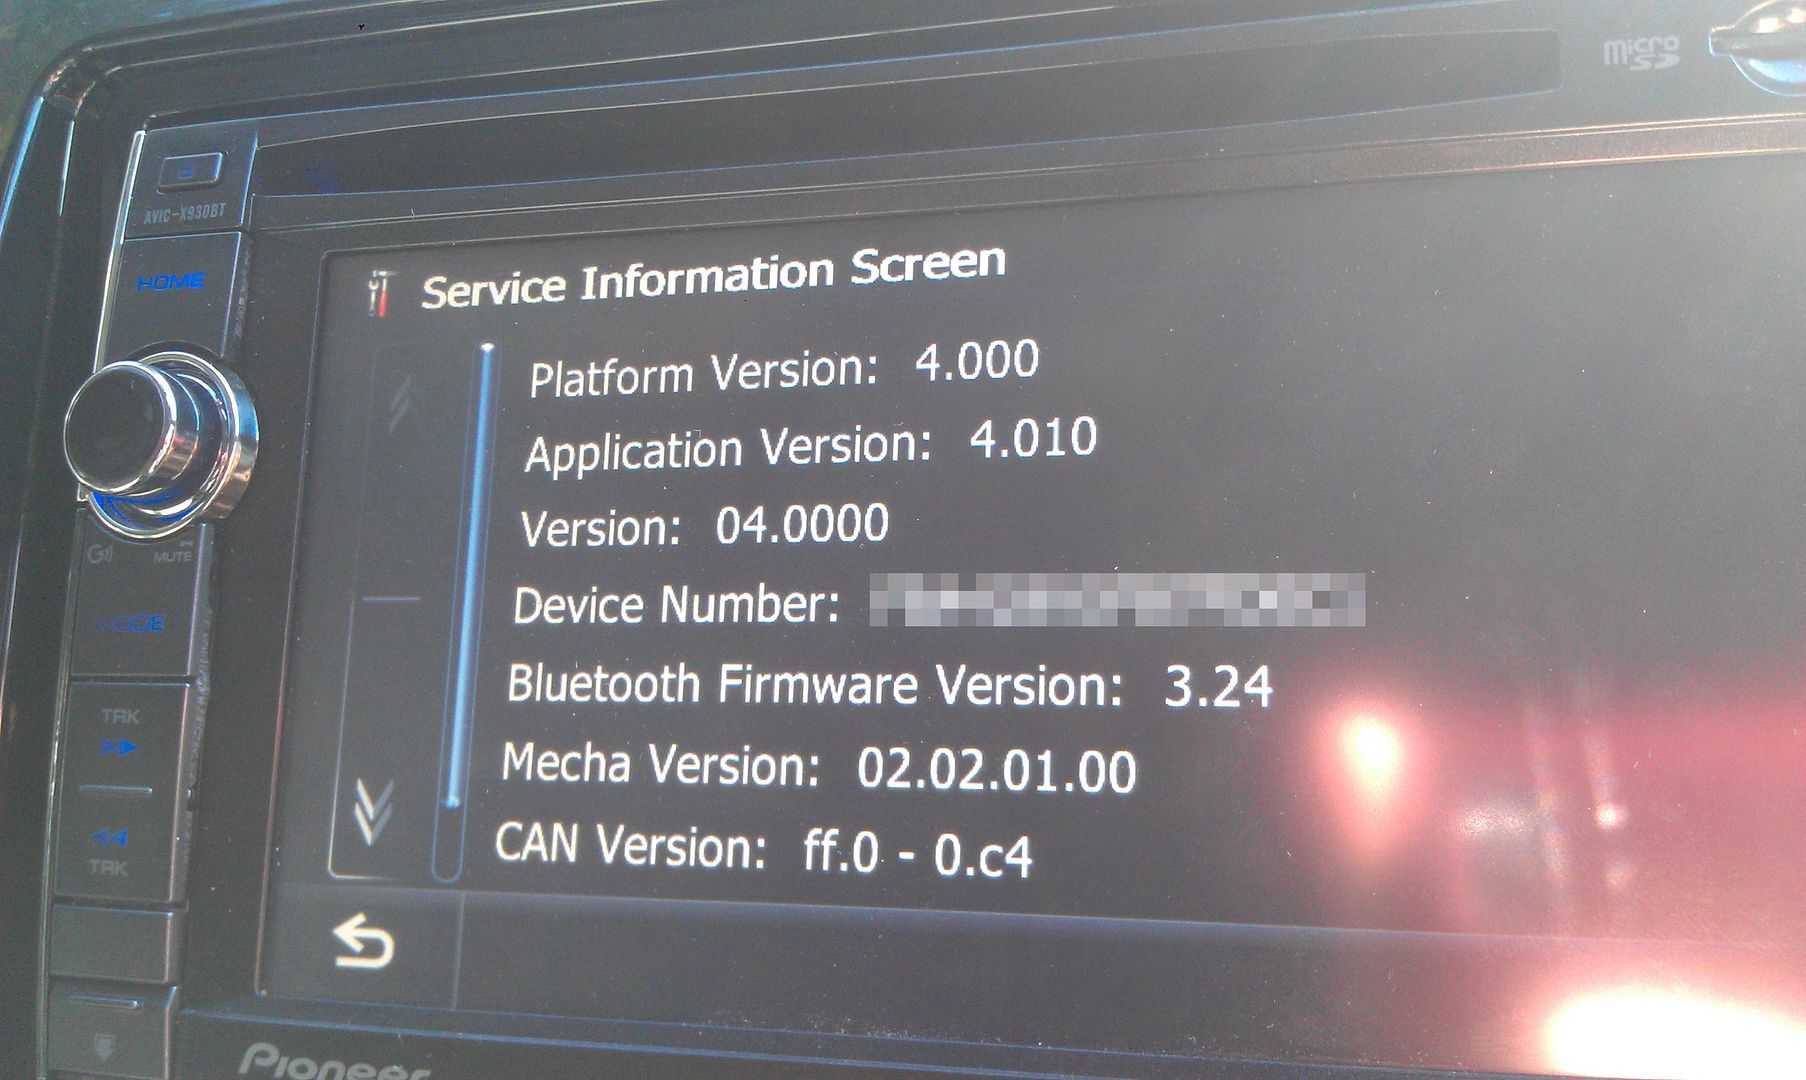
Press it and it'll show you your current firmware and under that will be the option to update it
Once that's pressed, you're prompted with one more confirmation of the update showing you version info of what you're currently running and what's going to be installed
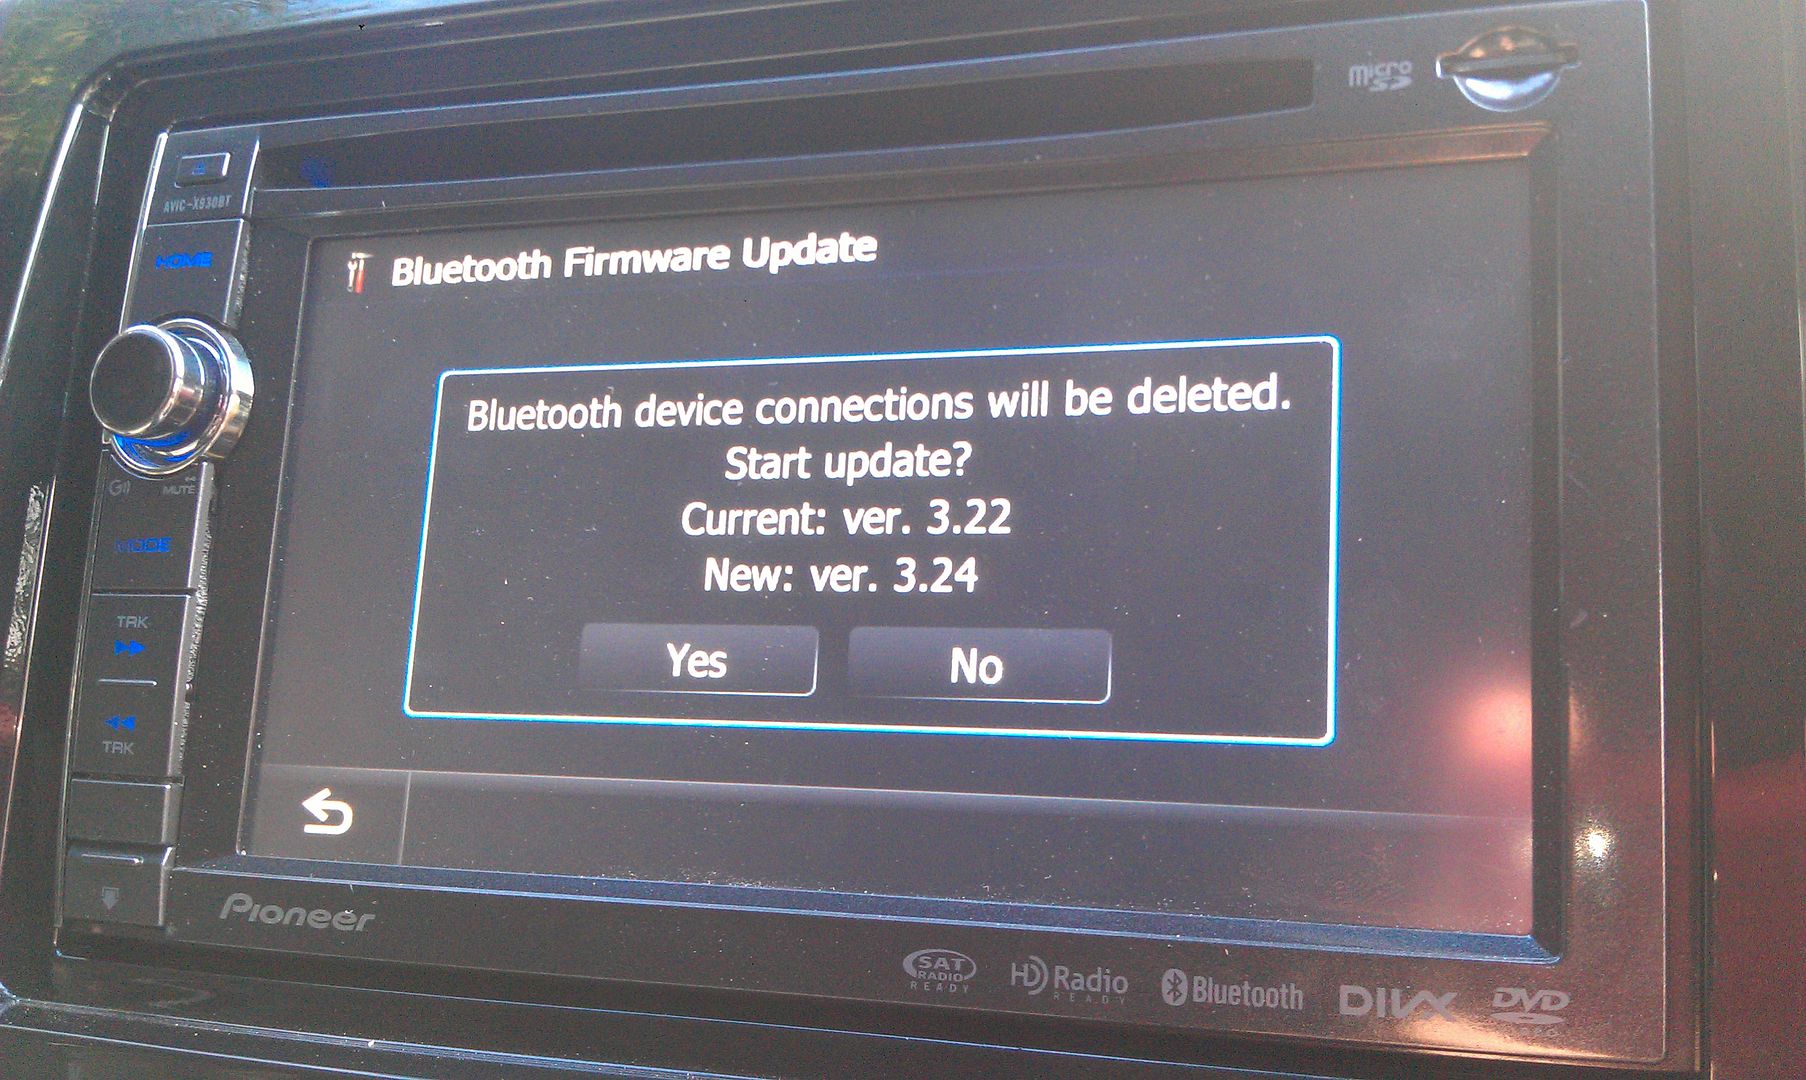
Hit yes and wait for it to update; takes about 3 or 4 minutes to complete
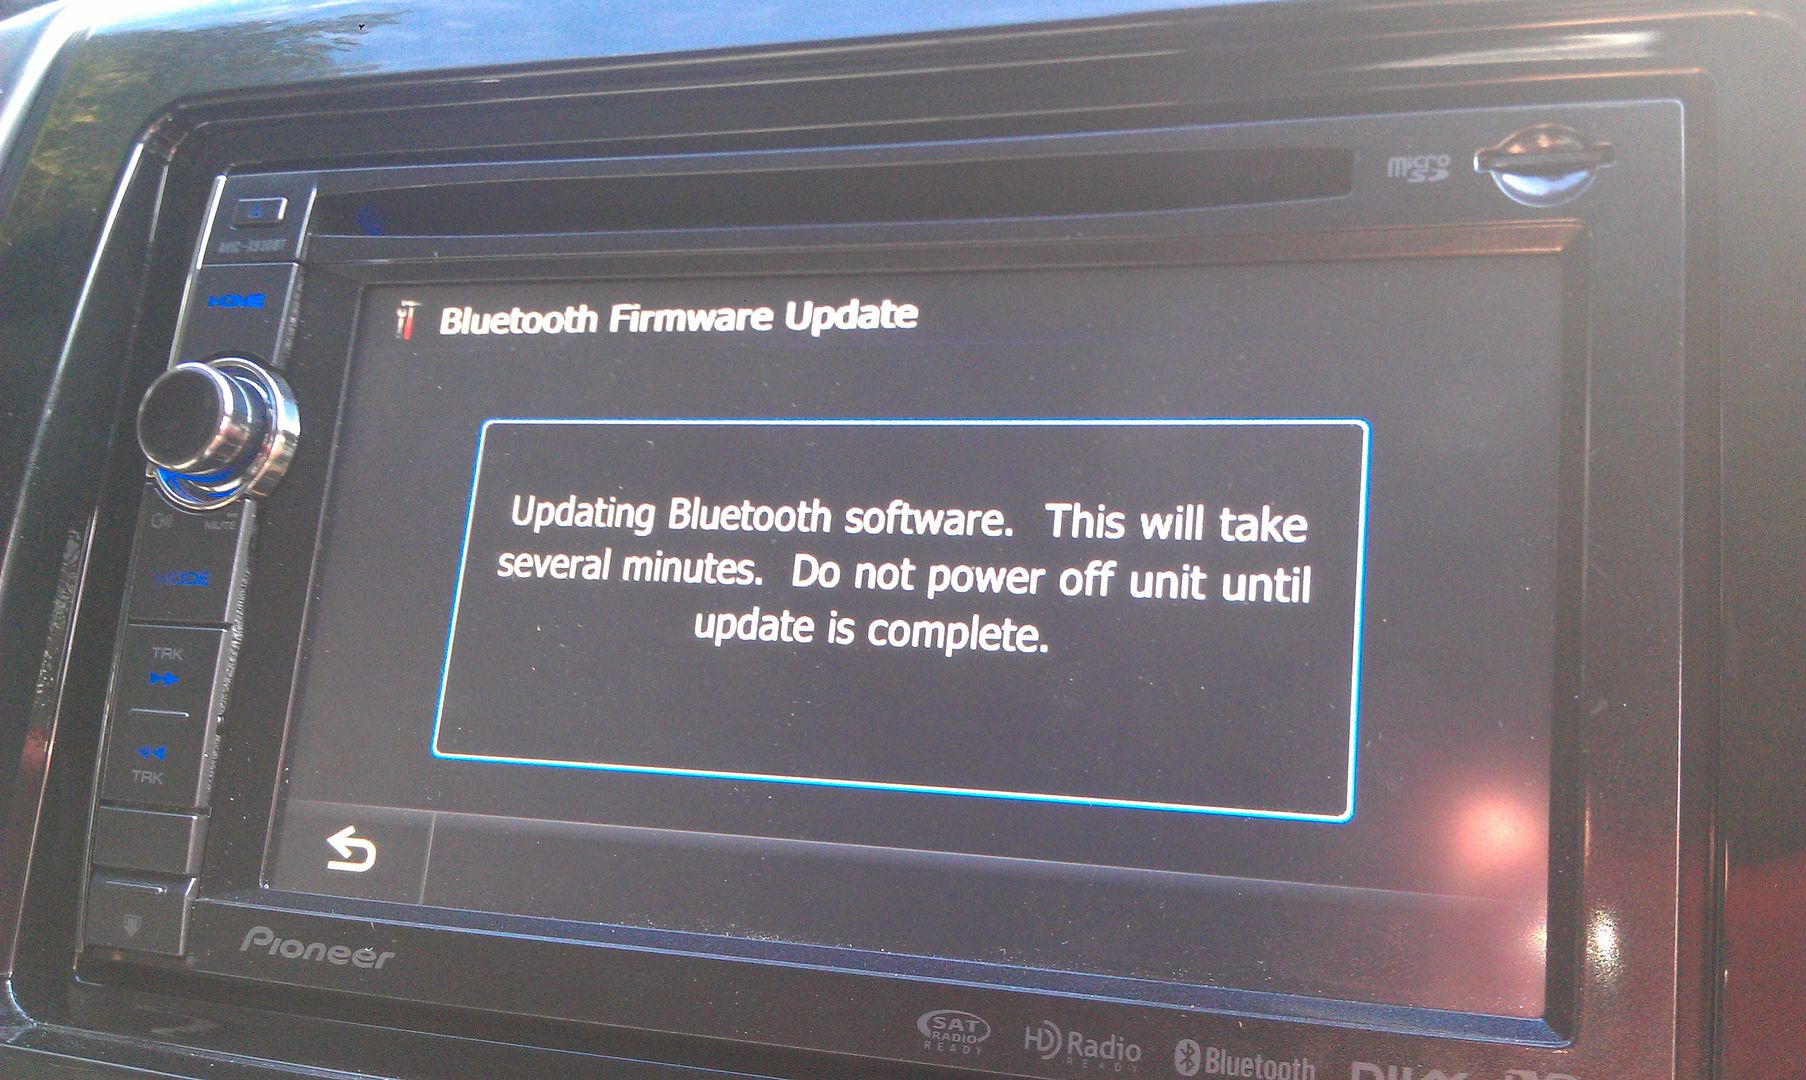
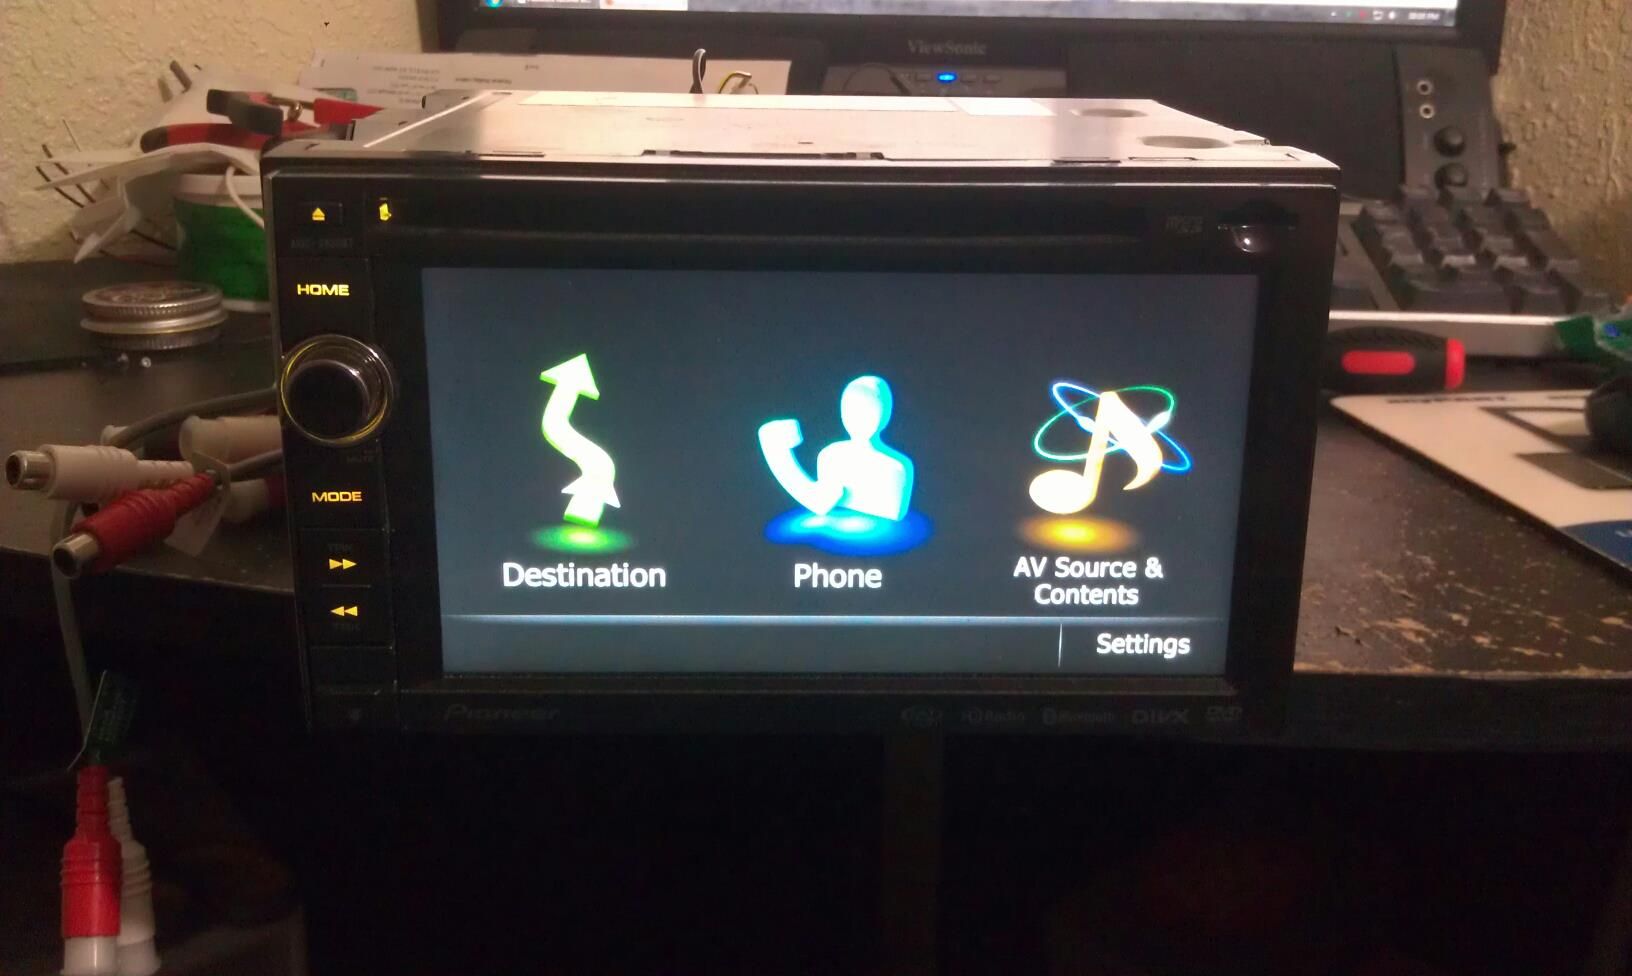
Once that's done, you'll have the new app connection option for bluetooth or wired connection
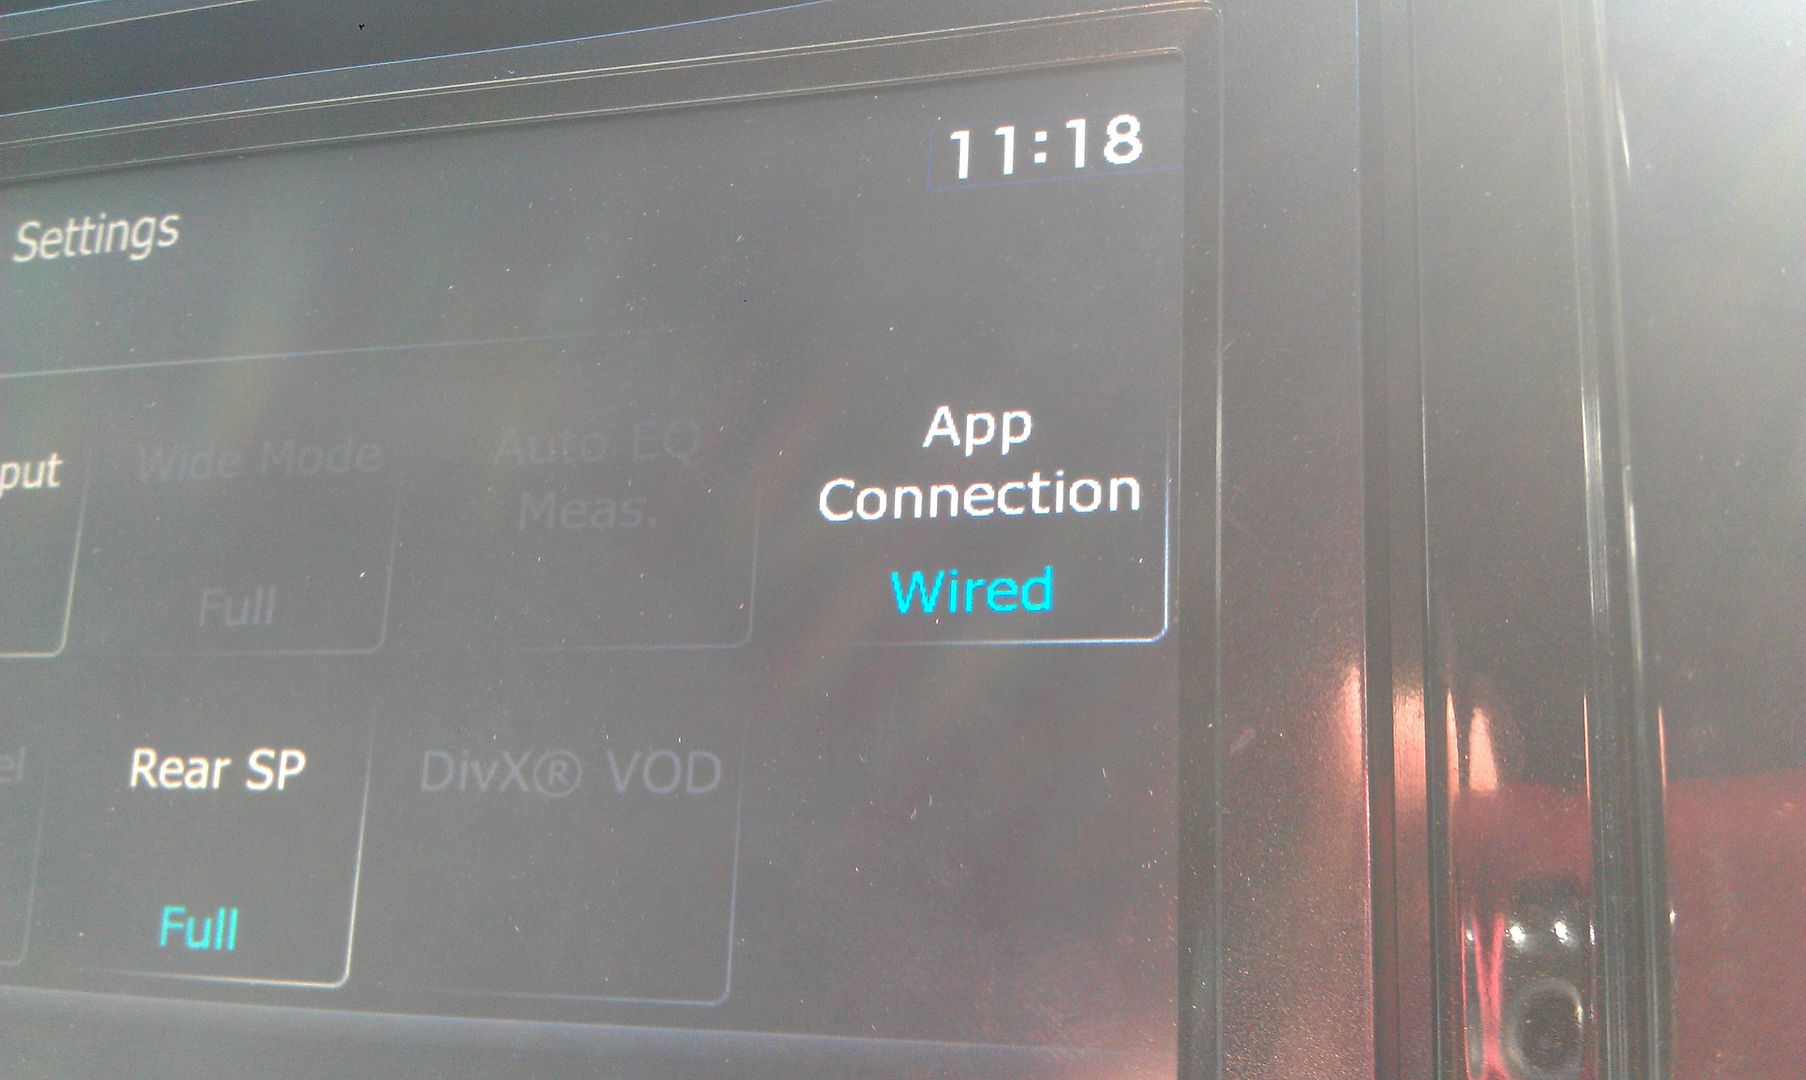
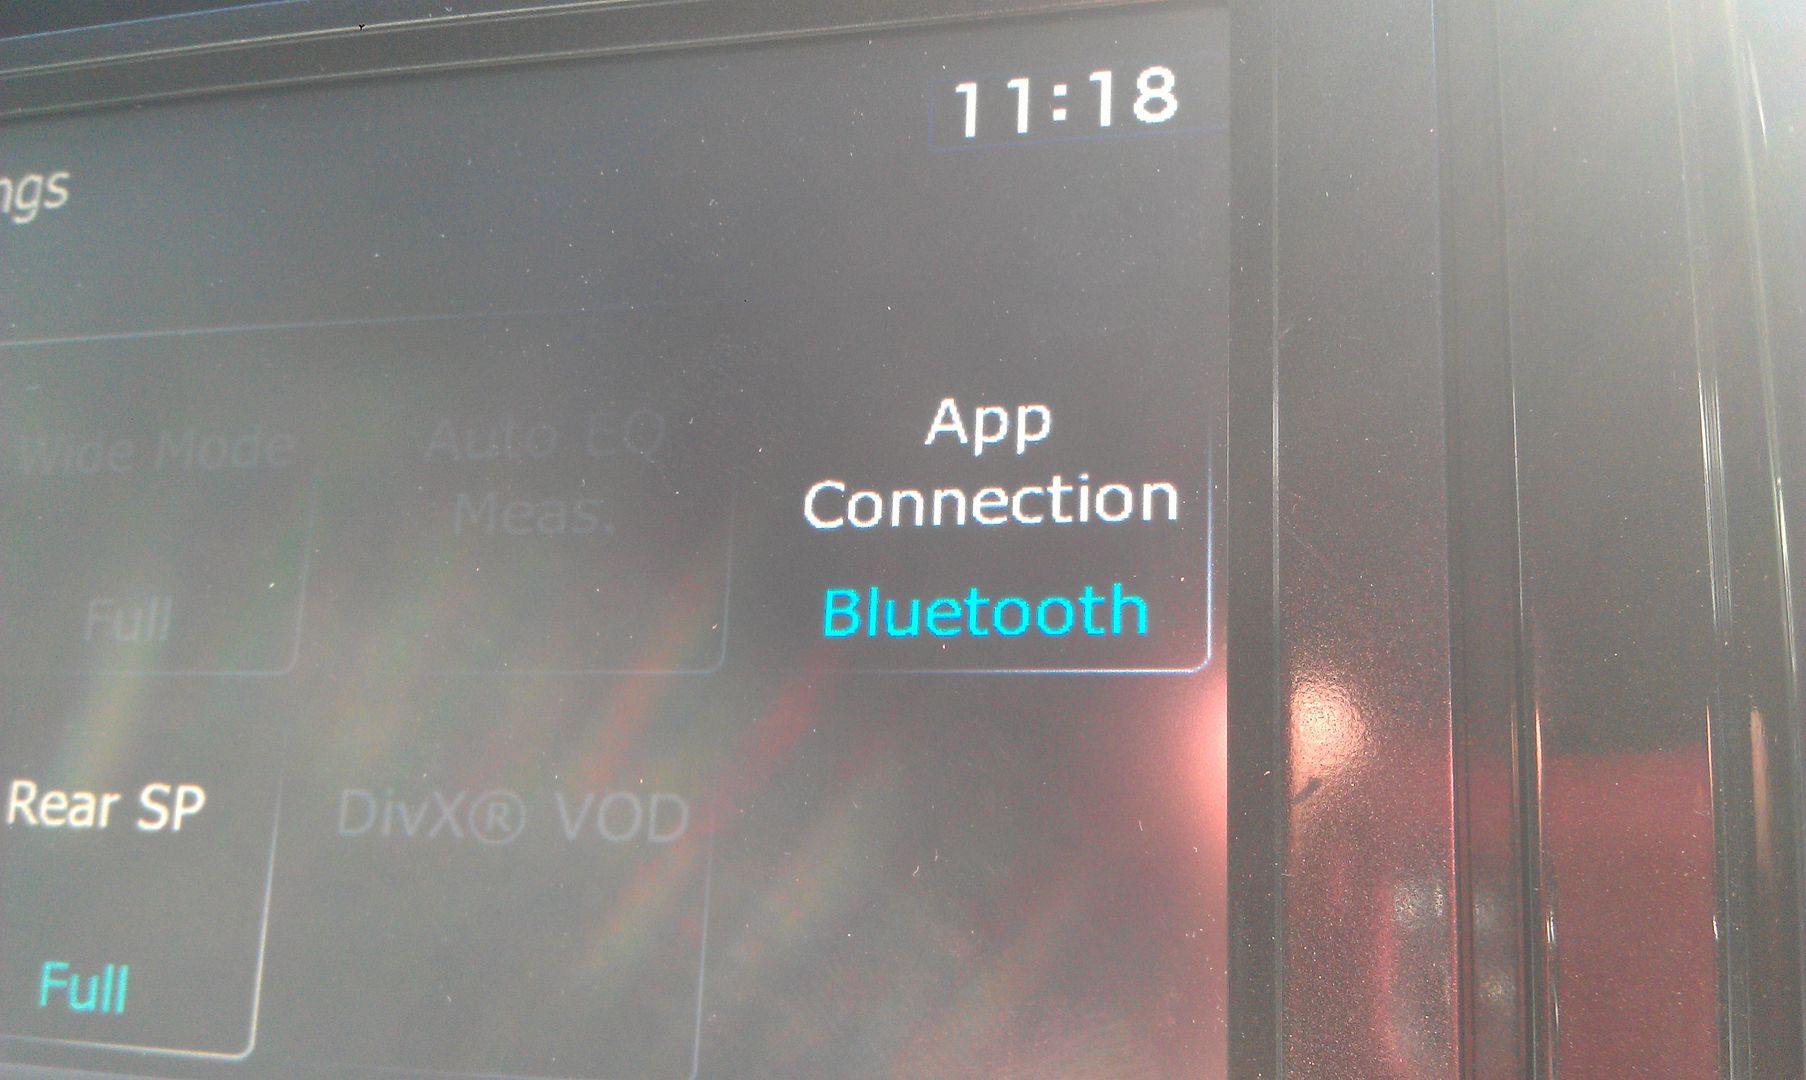
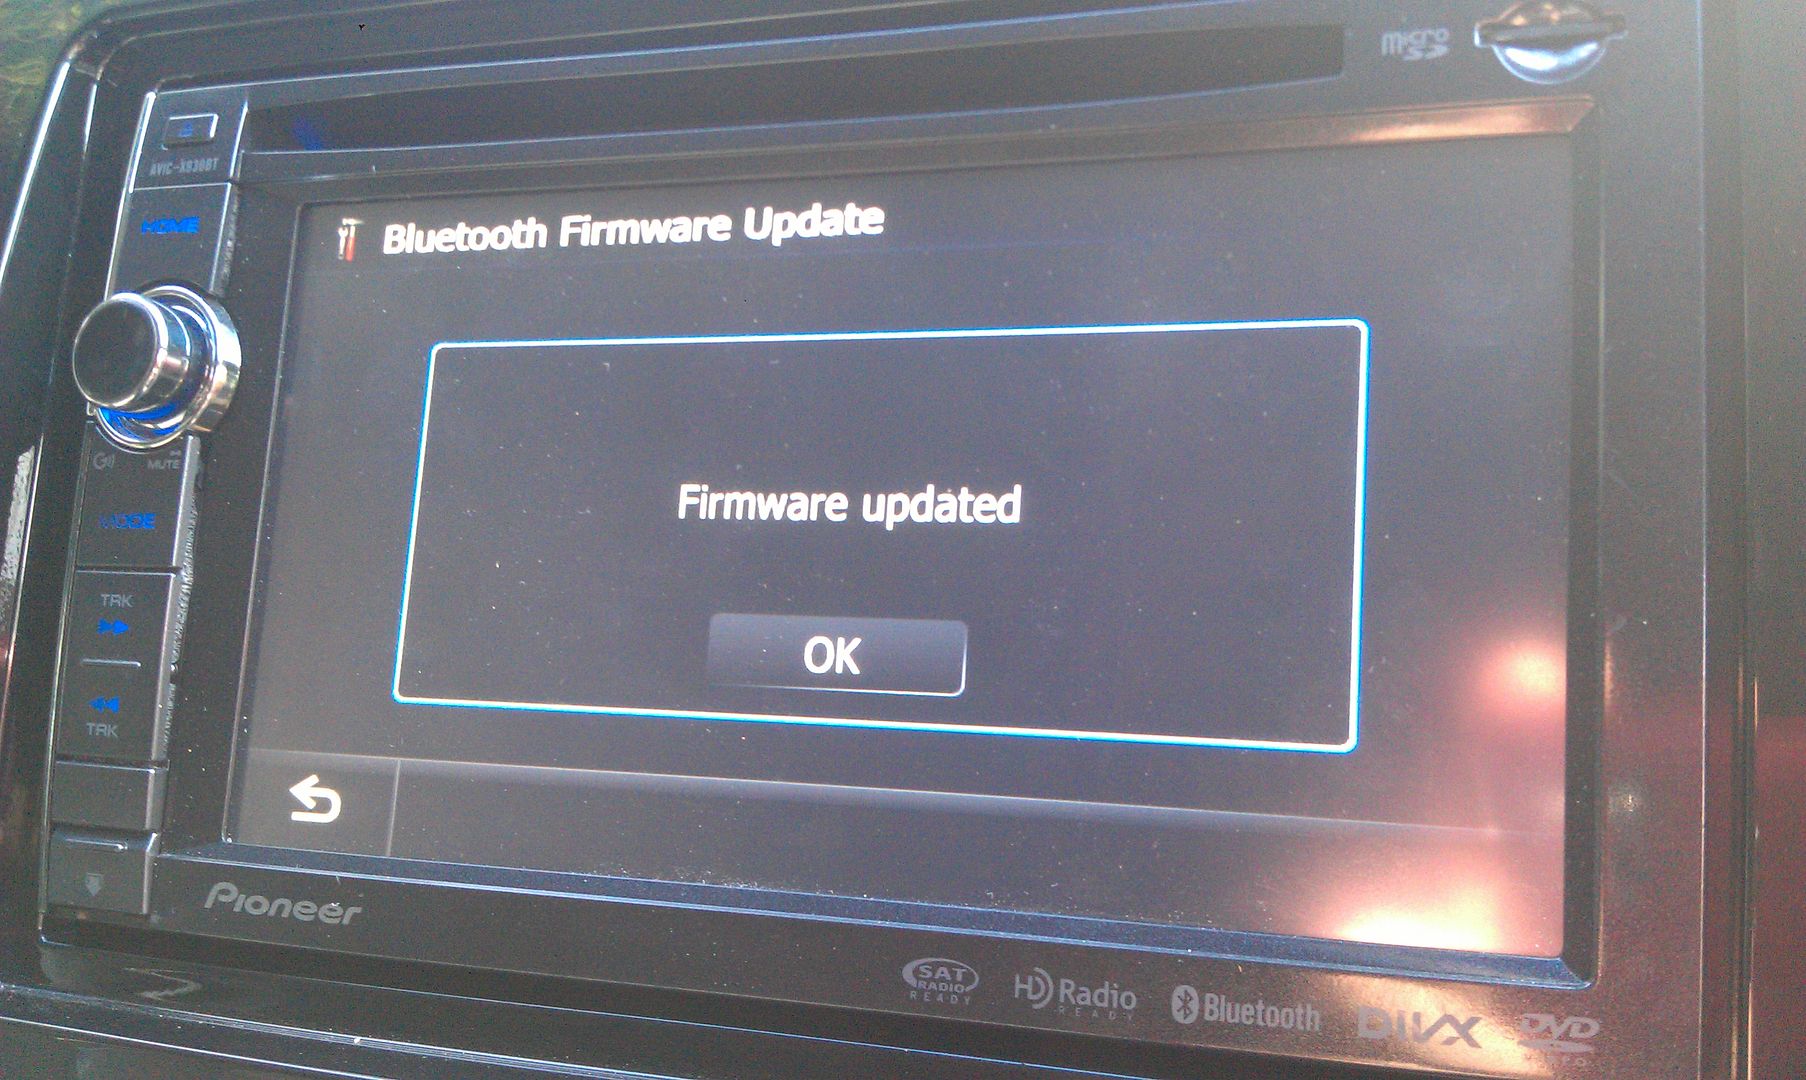
Pair to your Android phone (which you will have to do over again since you updated the bluetooth firmware which erased any stored phones) and you'll get a new list of options in you sources!
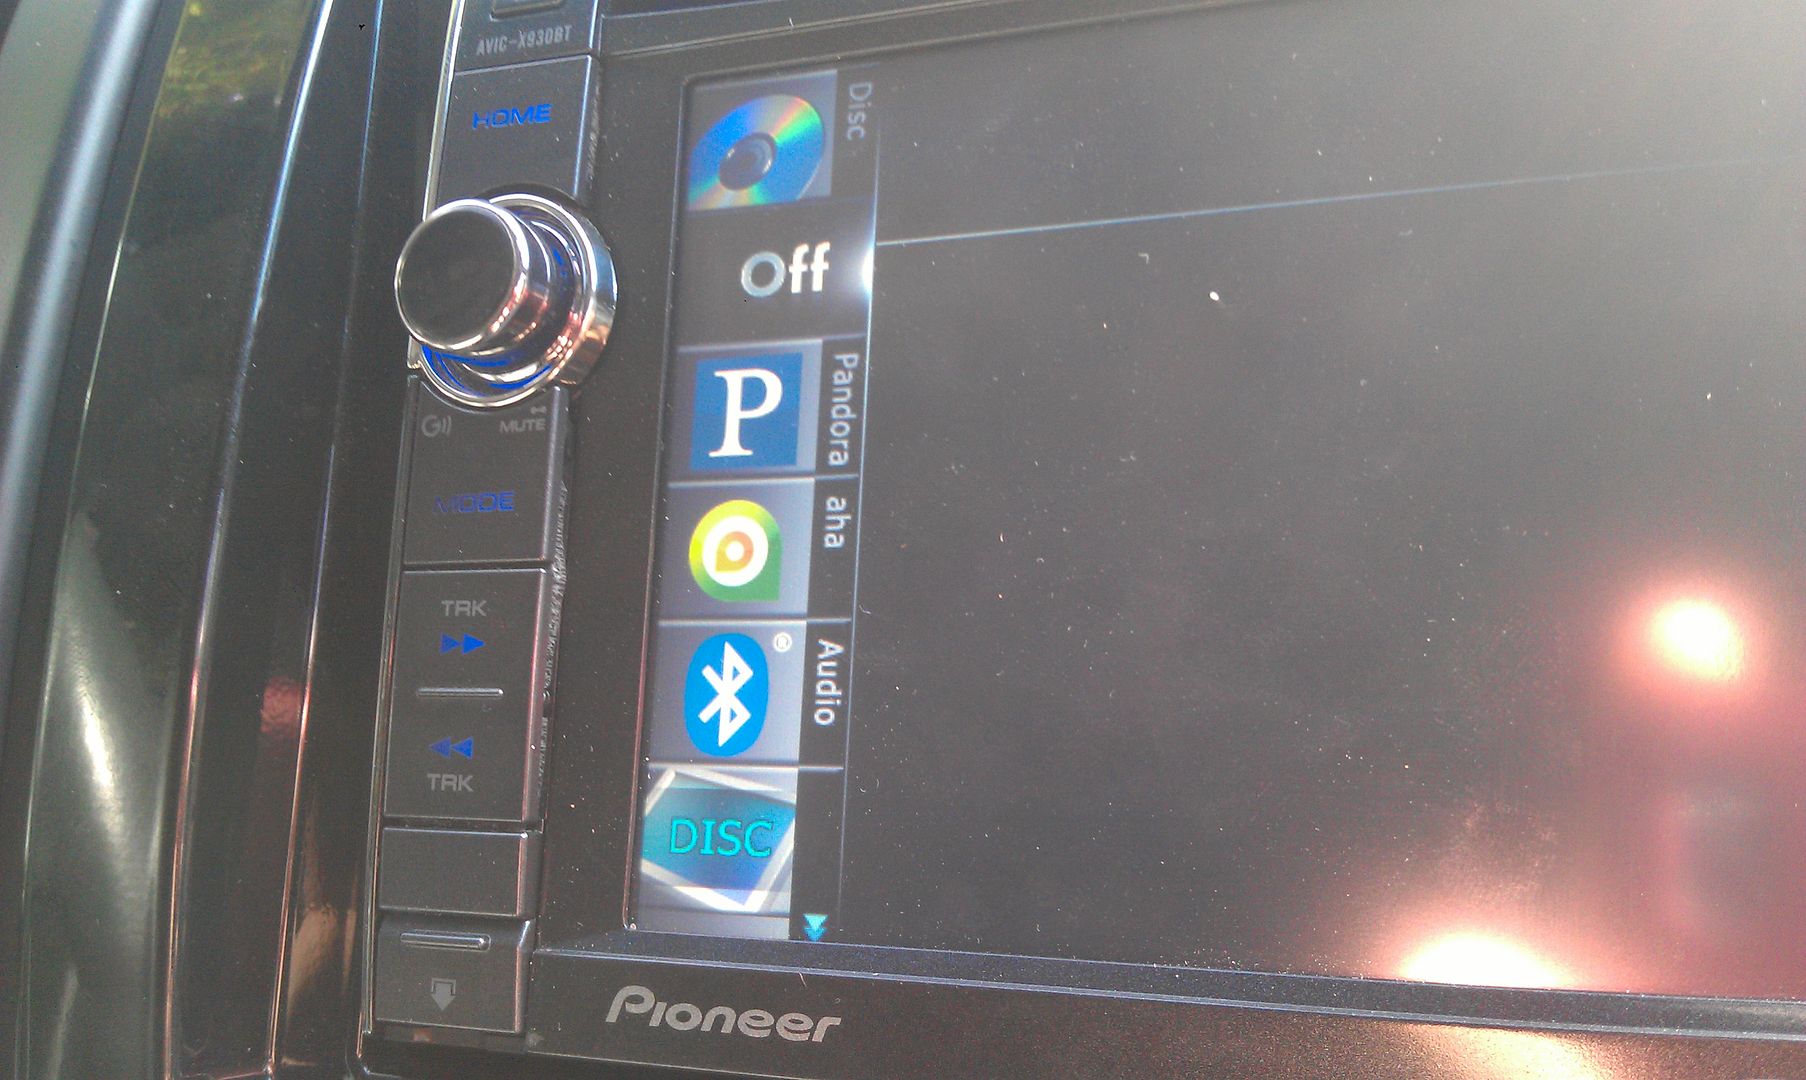
And for final proof of the successful update

Thanks for all the info and help everyone has given; this forum rocks!
-
Unless you are installing Hackmode (which isn't needed), I see no reason to back-up \USER.
BTW, the only new feature you'll get with android over your Z130 is Pandora and AHA support. No AppMode.
that's fine, that's all I want
thanks!
-
is it still recommended to back up the user folder before beginning?
downloading the firmware now; going to knock this out tomorrow
I took my buddy to the tire shop today to pick up his truck that he was getting new tires put on and he plugged his iPhone into my X930BT, and I want all that stuff that showed up when using my Andriod looks super easy; MUCH easier than I thought it was going to be!
will report back on success (or failure, but LET'S HOPE NOT!!!)
-
Do these completely cover up and block the lighted ring around the factory knob? If not, does anyone have a pic of the unit at night to show how much it does or doesn't?
-
I changed mine to ‘EXTRA POINTS FOR SHOPPING CARTS and GARBAGE CANS’
dammit, now I don't know if I want to just remove the message completely, or put something like that, lmao
I wouldn't even show it to anyone that was riding with me, I'd just wait until they seen it and were like "wtf?"
-
Okay, let's simplify this a little more; might help some others. Pictures have always helped me out in situations like this, so let's do this.
Working with an X930BT in this how-to. Read all of these instructions all the way through before attempting it.
First off, you'll need a micro SD card; size isn't extremely important, the size of the files you'll be putting on it are less than 14mb, just choose one that your unit can support if it has a size limitation. In this instance I used a 32gb the first time around, but I'll be using a 16gb in the photos below; again, it really doesn't matter as long as it's at least 14mb, and I think the smallest you can get is 2gb now anyway and they're only like $5, lol.
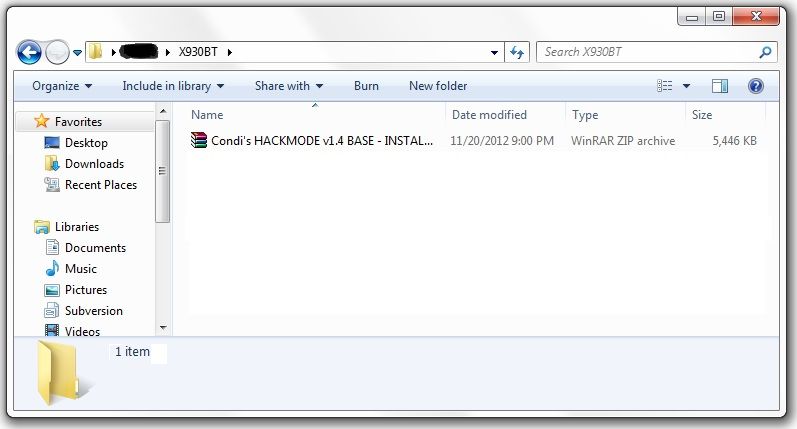
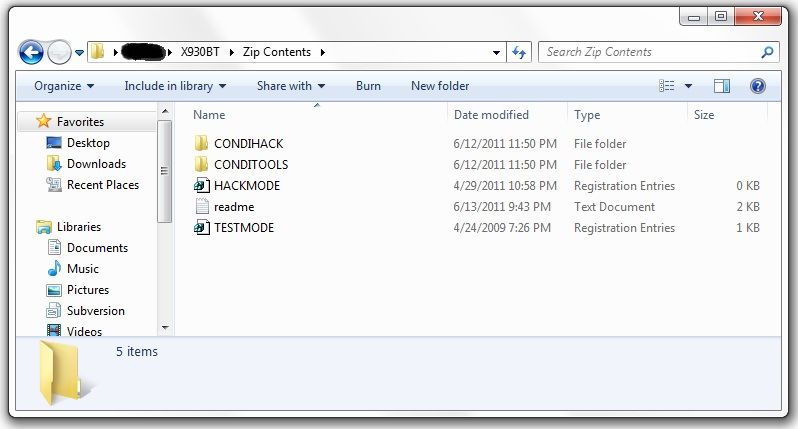
Next, you'll need to download the files required to booth the unit into testmode. In the original post there's a link to another thread which has about 5 different download links in it, and I know that can get confusing... The one you want is the HACKMODE v1.4 BASE. Click on that link and you will download the .zip file containing the files you need. Once the download is complete, unzip the contents onto your micro SD card.
The .zip file is password protected and when you go to extract the files it will prompt you for the password. The password is "avic411" (without the "" obviously...)
The files should be place in the root of the card, not in another folder on the card. I'm not sure if it's required (although it probably is) but have nothing else on the card at the time. The only thing that should be on the micro SD card are the files located in the .zip that you downloaded.
At this point, it's time to make your way to the password protected unit with the micro SD card you just place the files above into.
With the unit powered off (key in the OFF possession, or just no power supplied if your doing this out of the vehicle), load the card into the device. Power the unit on and wait for it to boot, at which point it should boot into testmode.
Once in testmode, on an X930BT, and I would imagine it would be the same for all of the X9X0BT series, the only buttons and actions that will be needed to navigate the screens are the following:
*HOME - escape/cancel/go back
*MODE - enter/select
*Volume down (left) - move selection on screen down
*Volume up (right) - move selection on screen up
I CANNOT STRESS HOW STRONGLY I RECOMMEND THAT YOU DO NOT MESS WITH ANY OTHER FILES IN HERE IF YOU DO NOT KNOW WHAT YOU ARE DOING!!! IT IS VERY EASY TO BRICK YOUR UNIT USING TEST MODE!!! I TAKE NO RESPONSIBILITY IF YOU SCREW THINGS UP; YOU ARE DOING THIS AT YOUR OWN RISK!!!
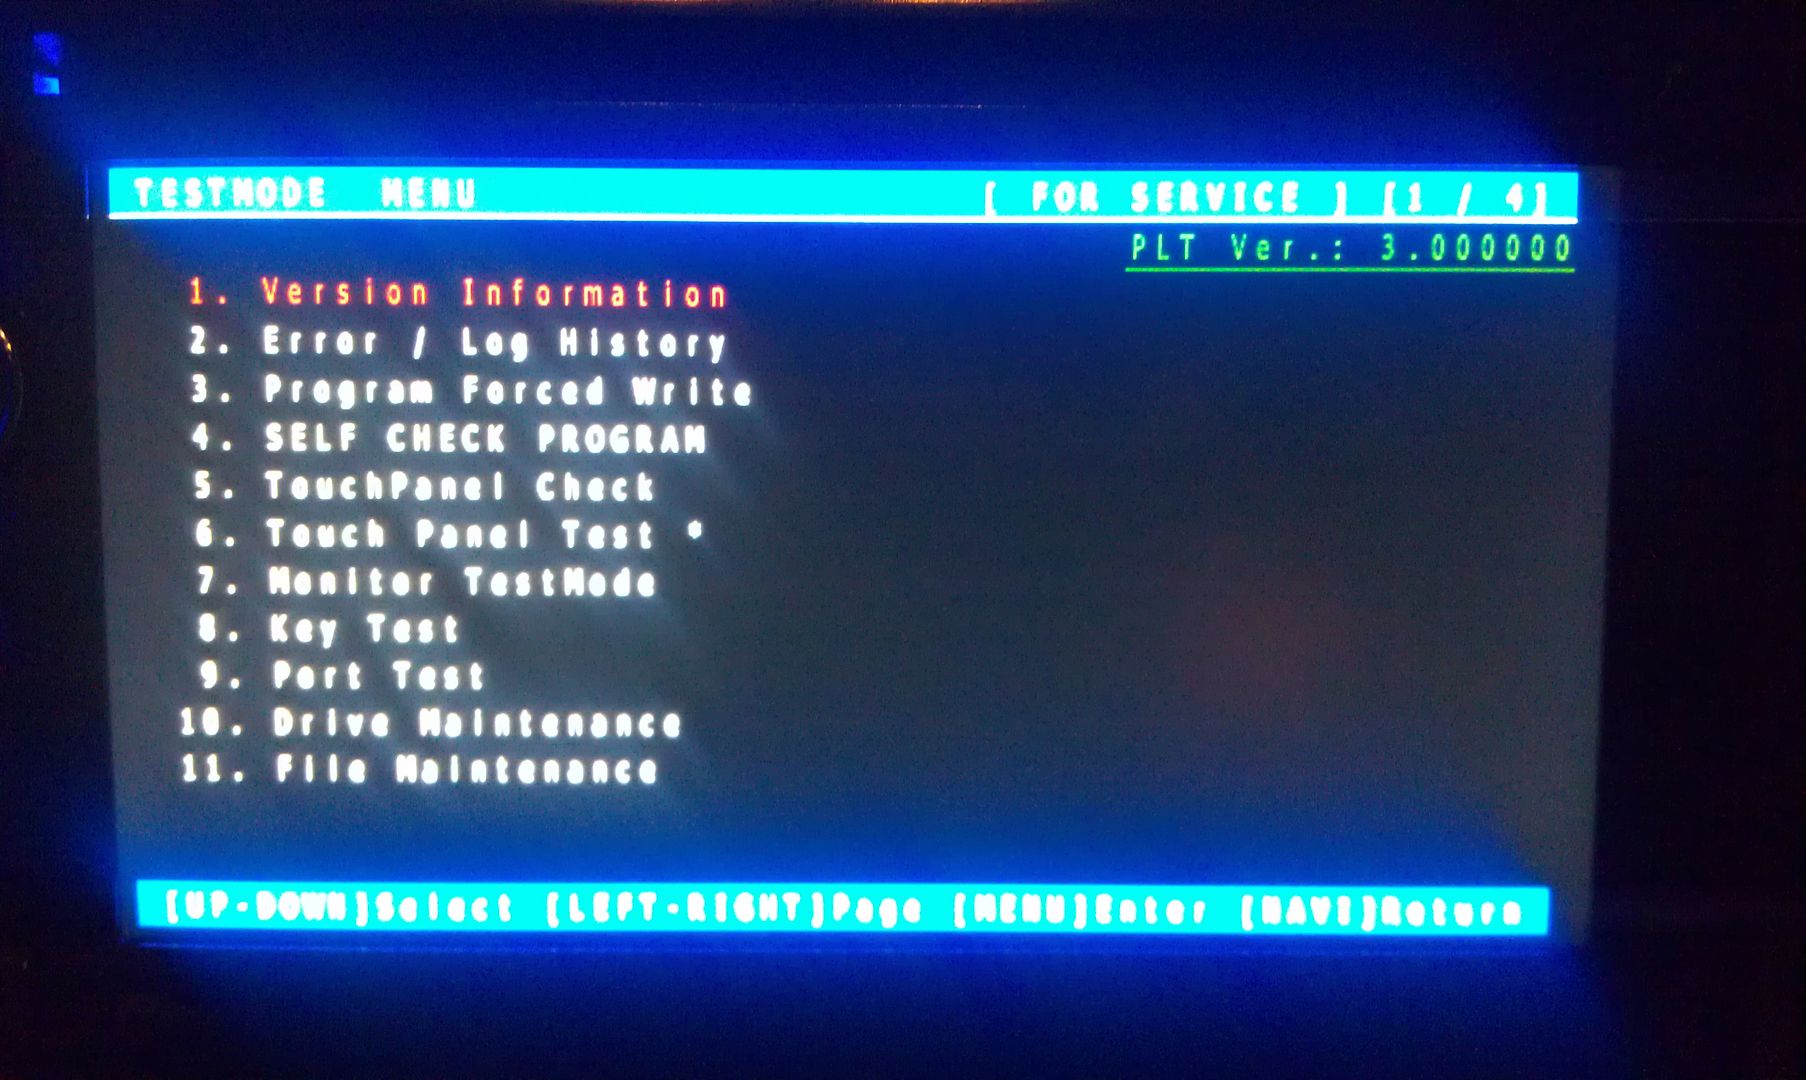
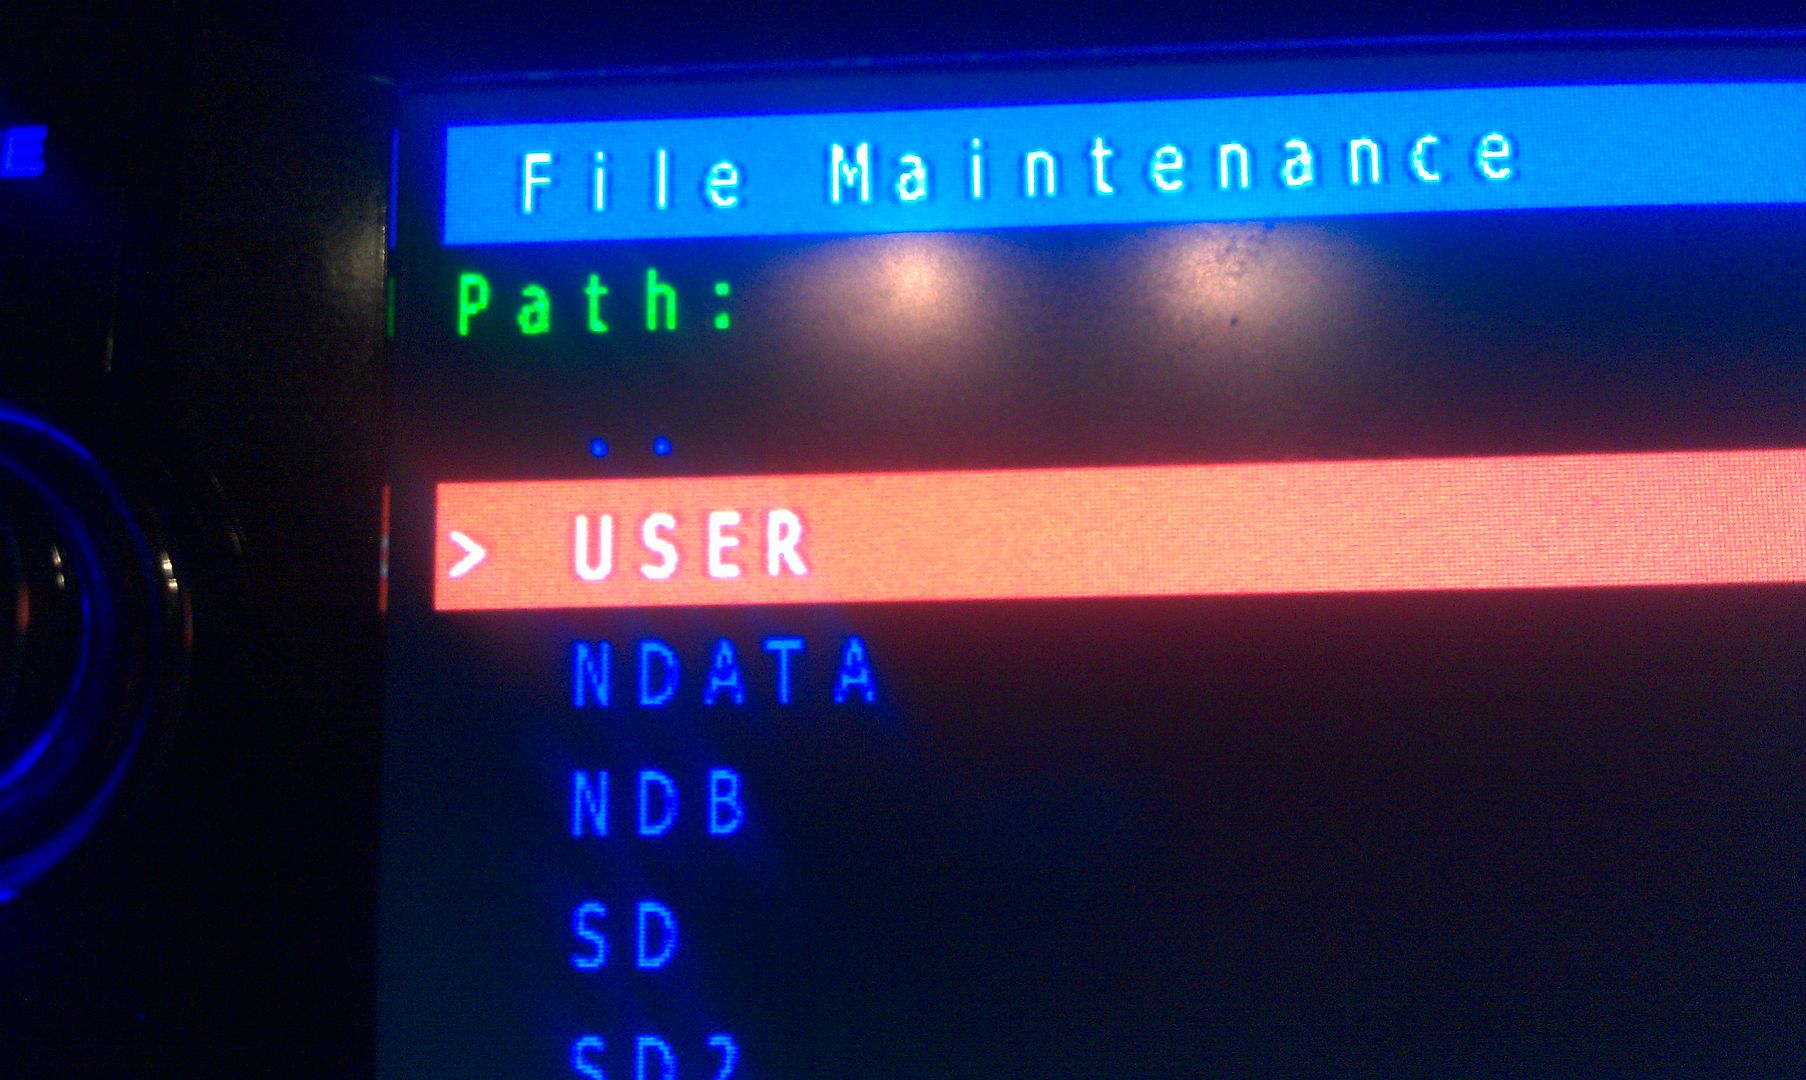
Move the selection on the screen down to #11, File Maintence
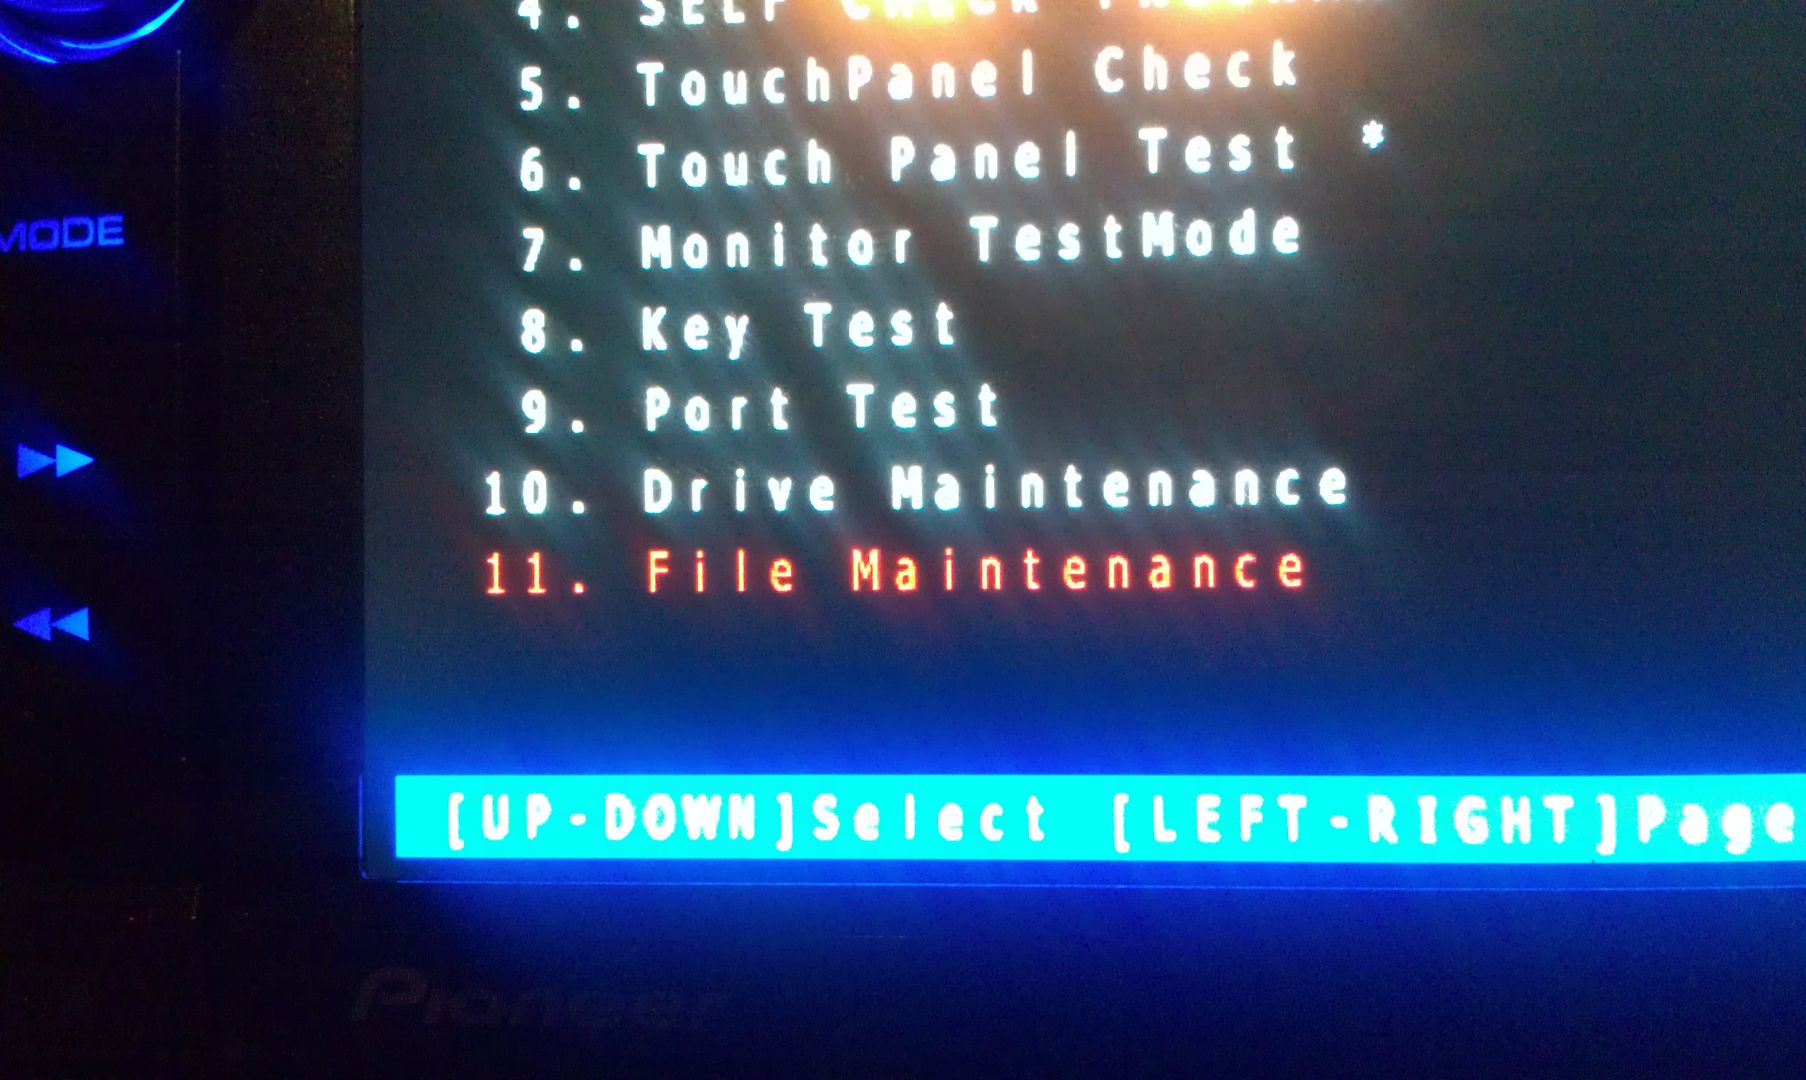
Press MODE and you will enter the File Maintence screen
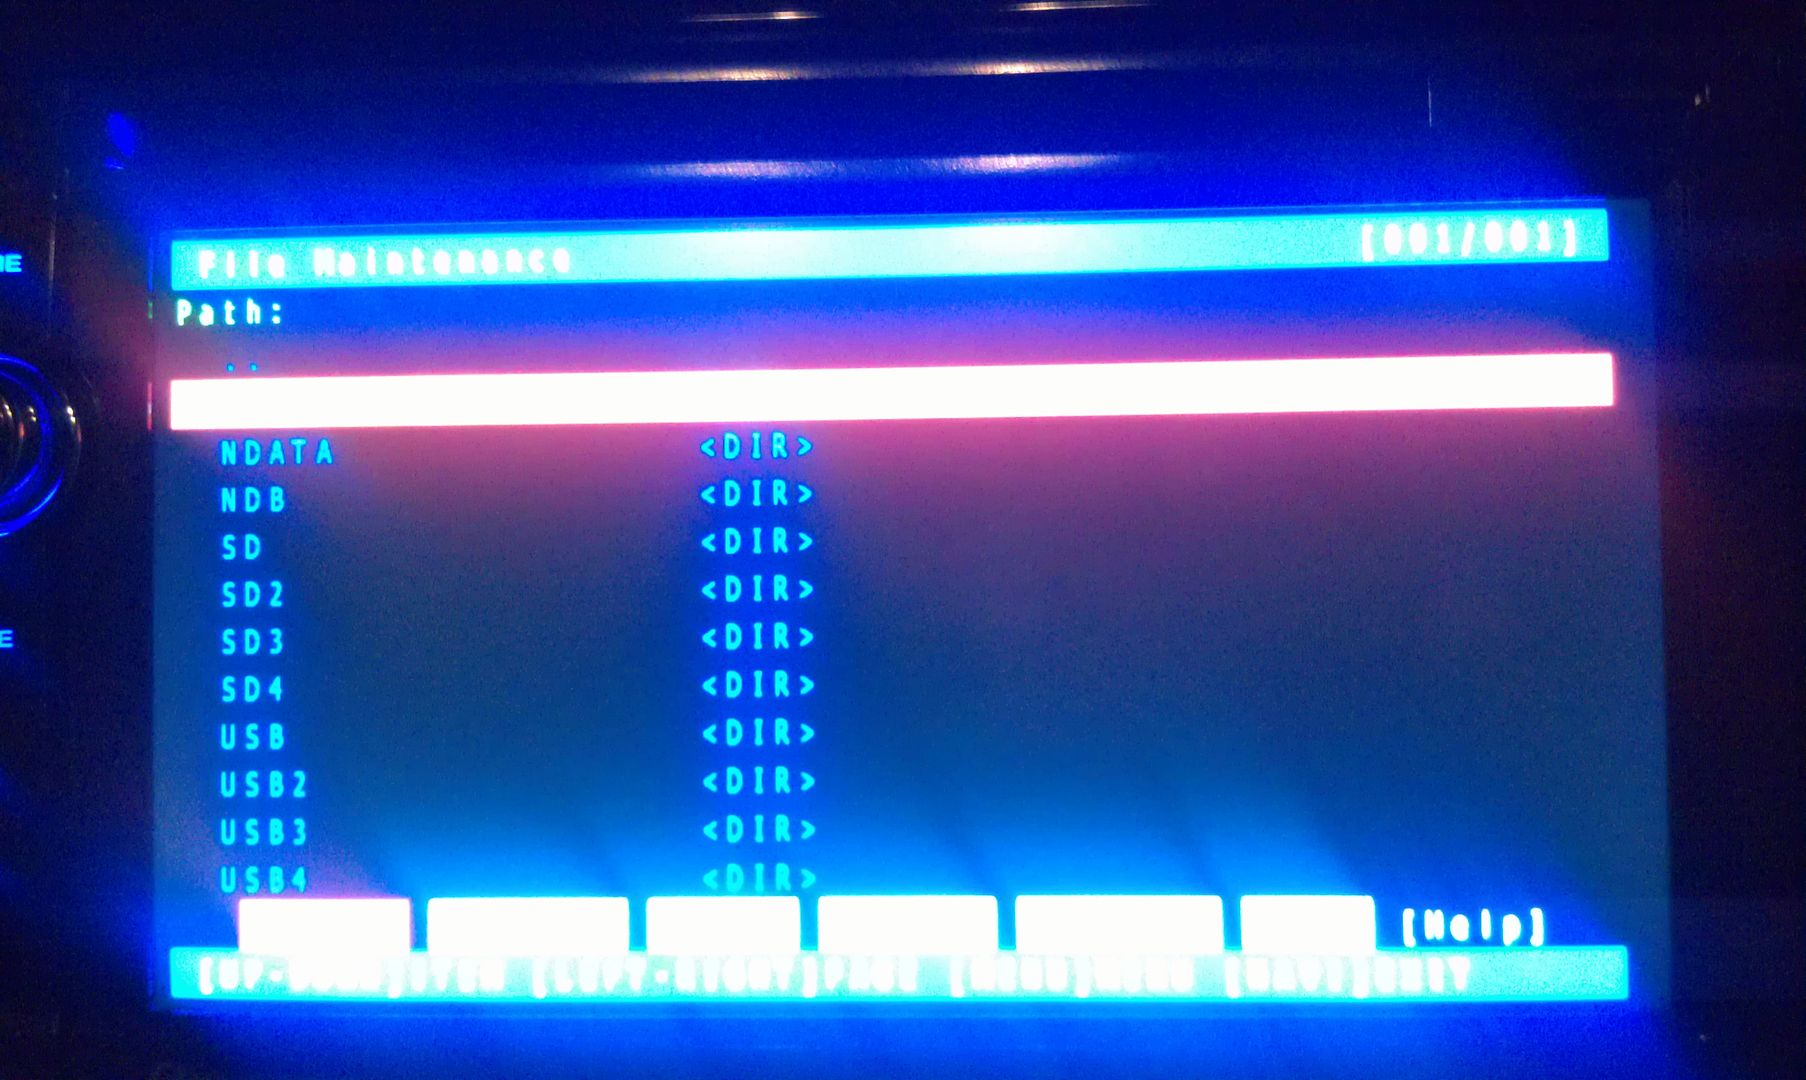
Now select User and open it
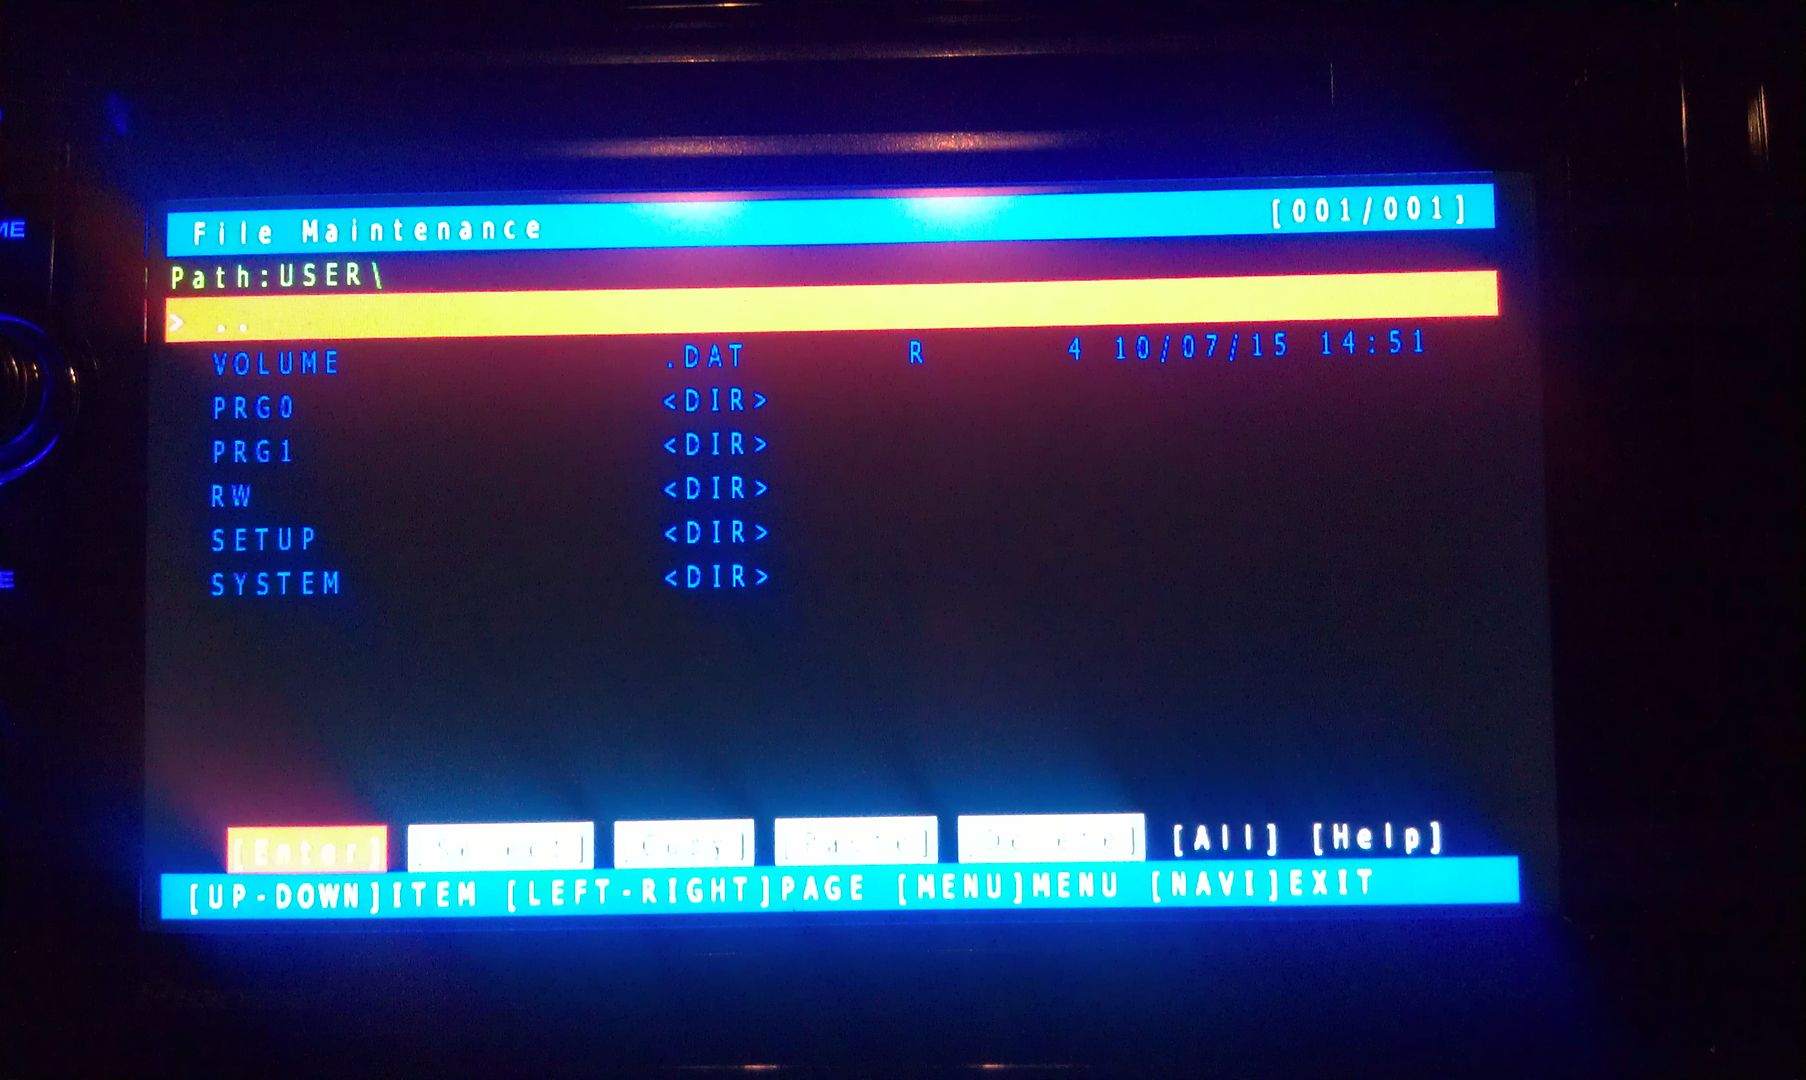
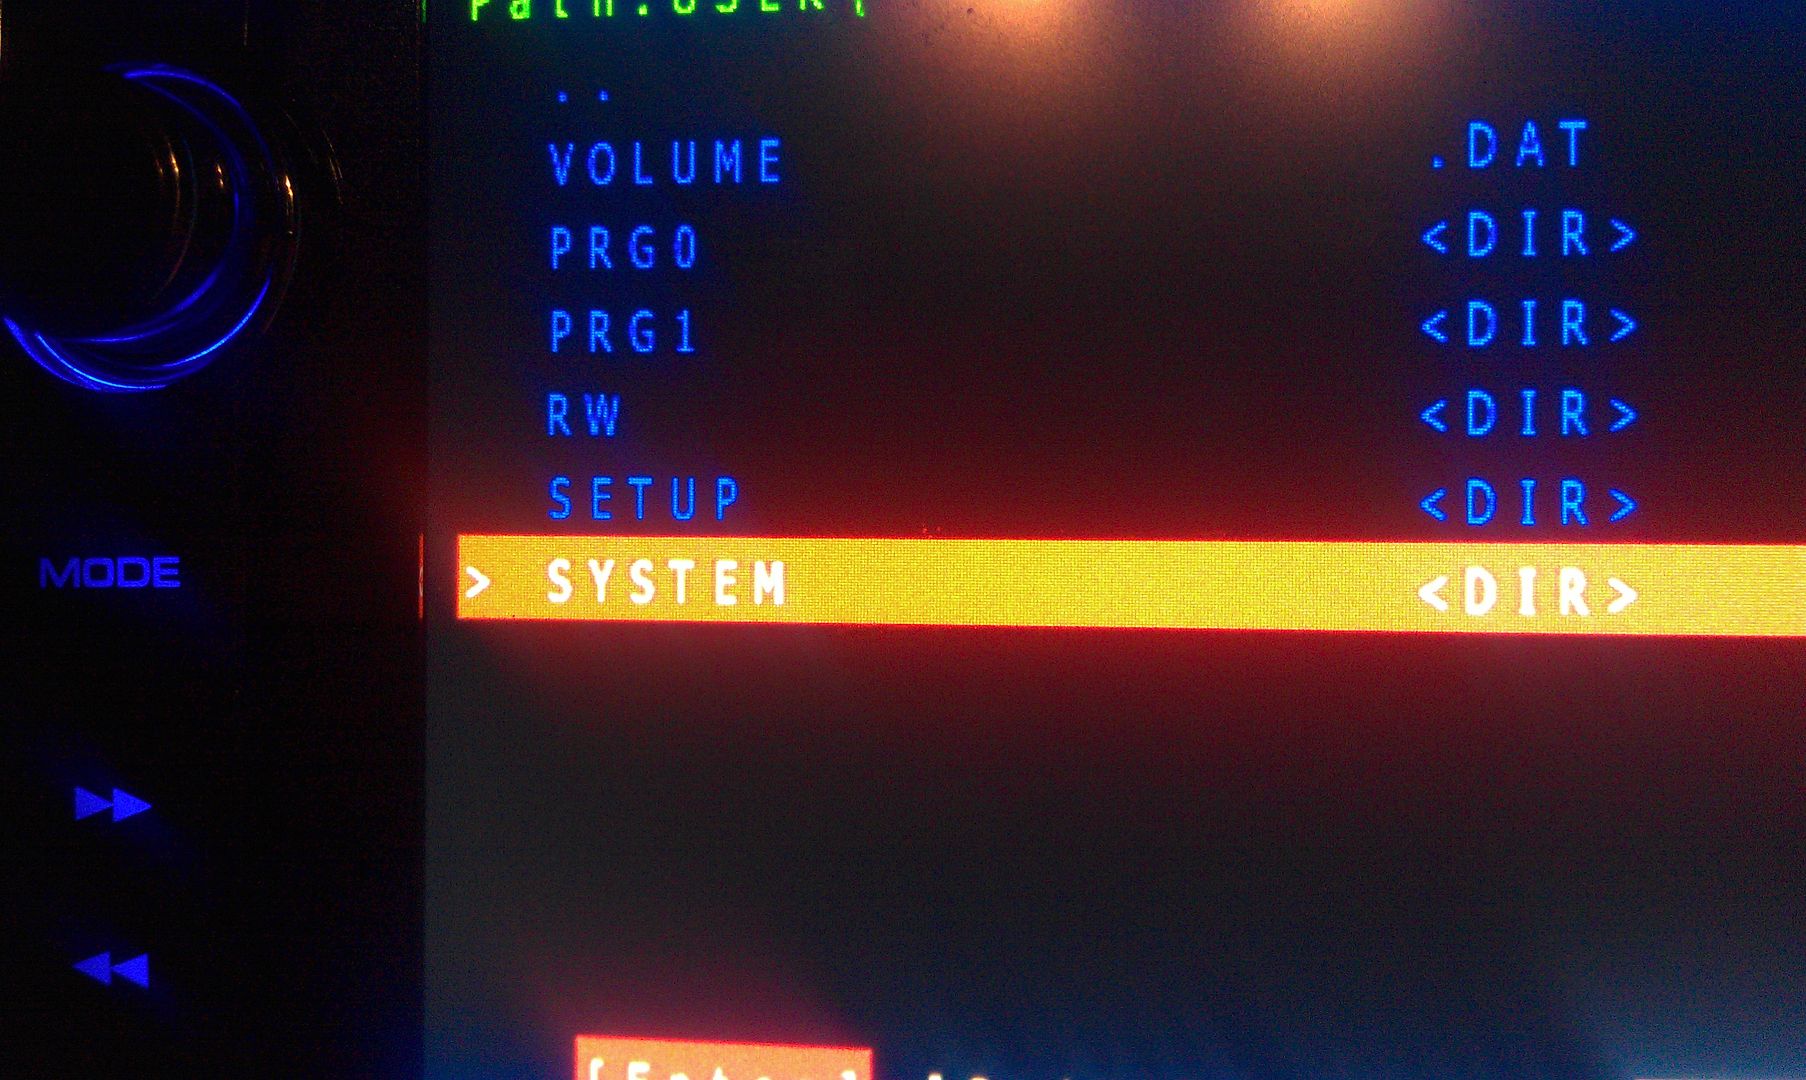
Now select System and enter it
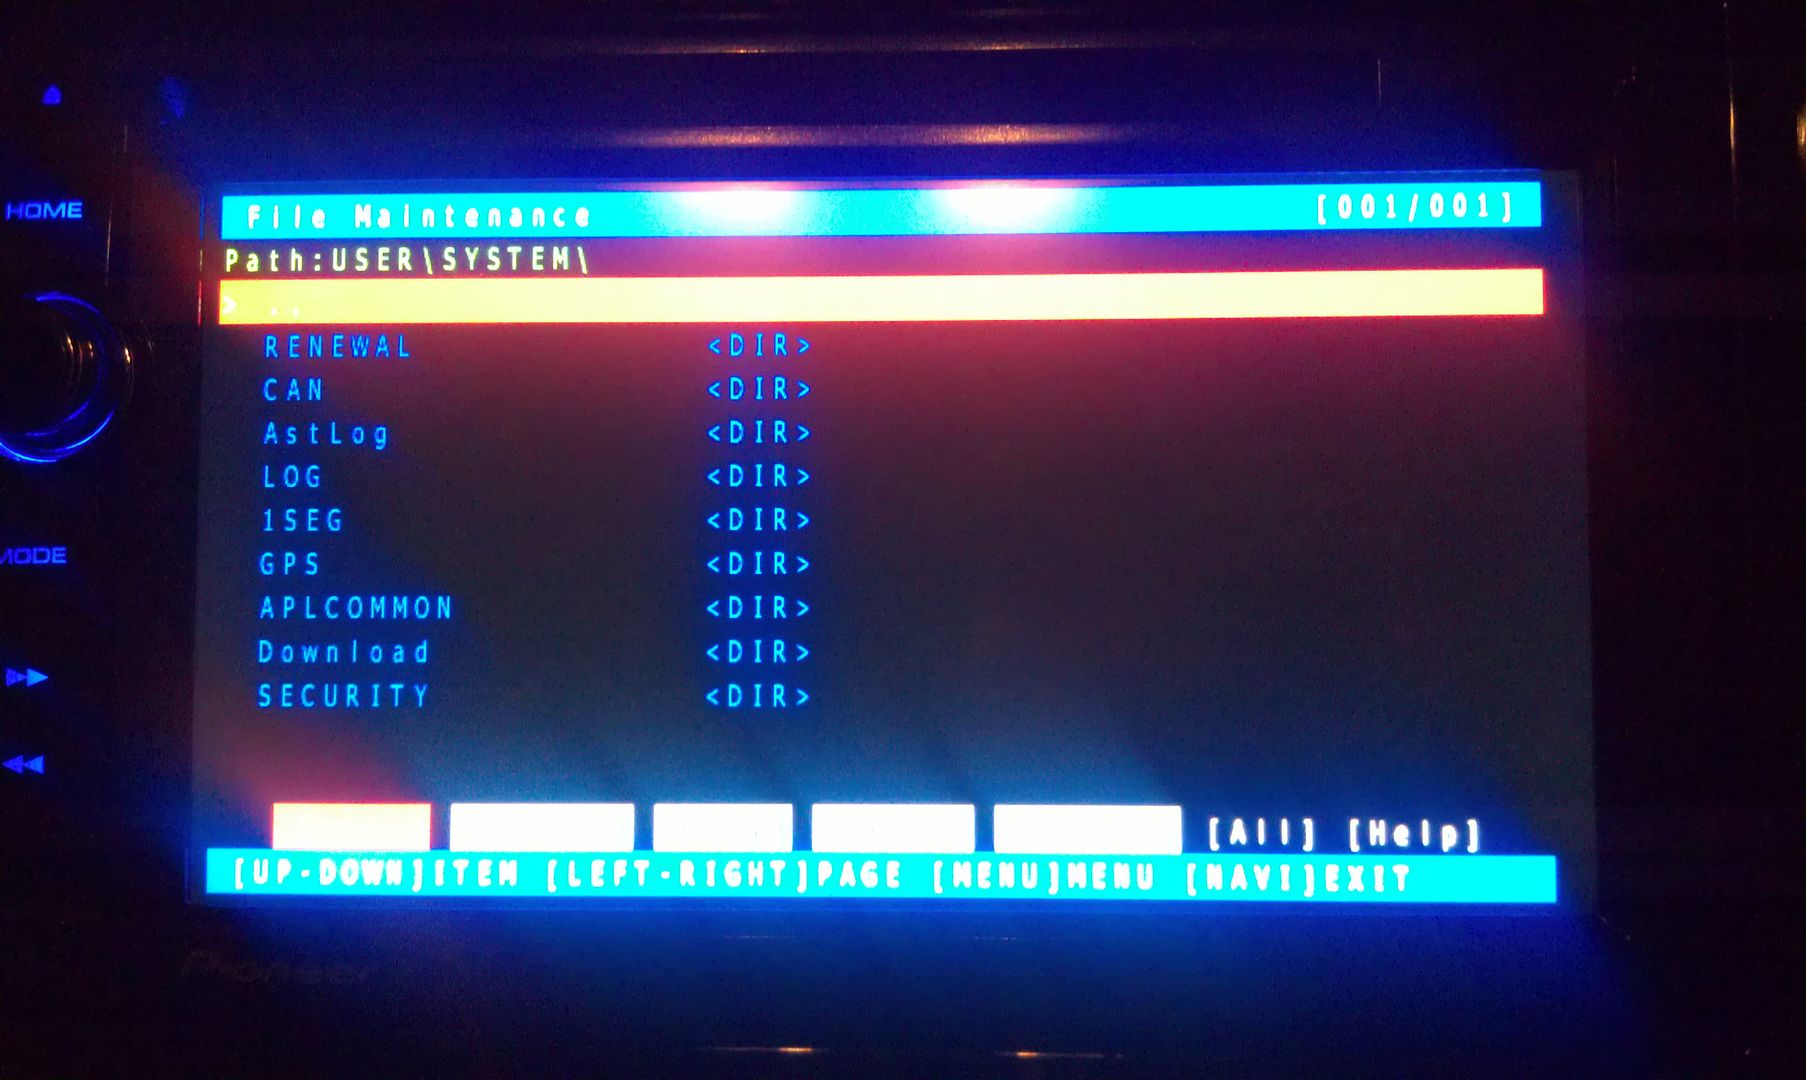
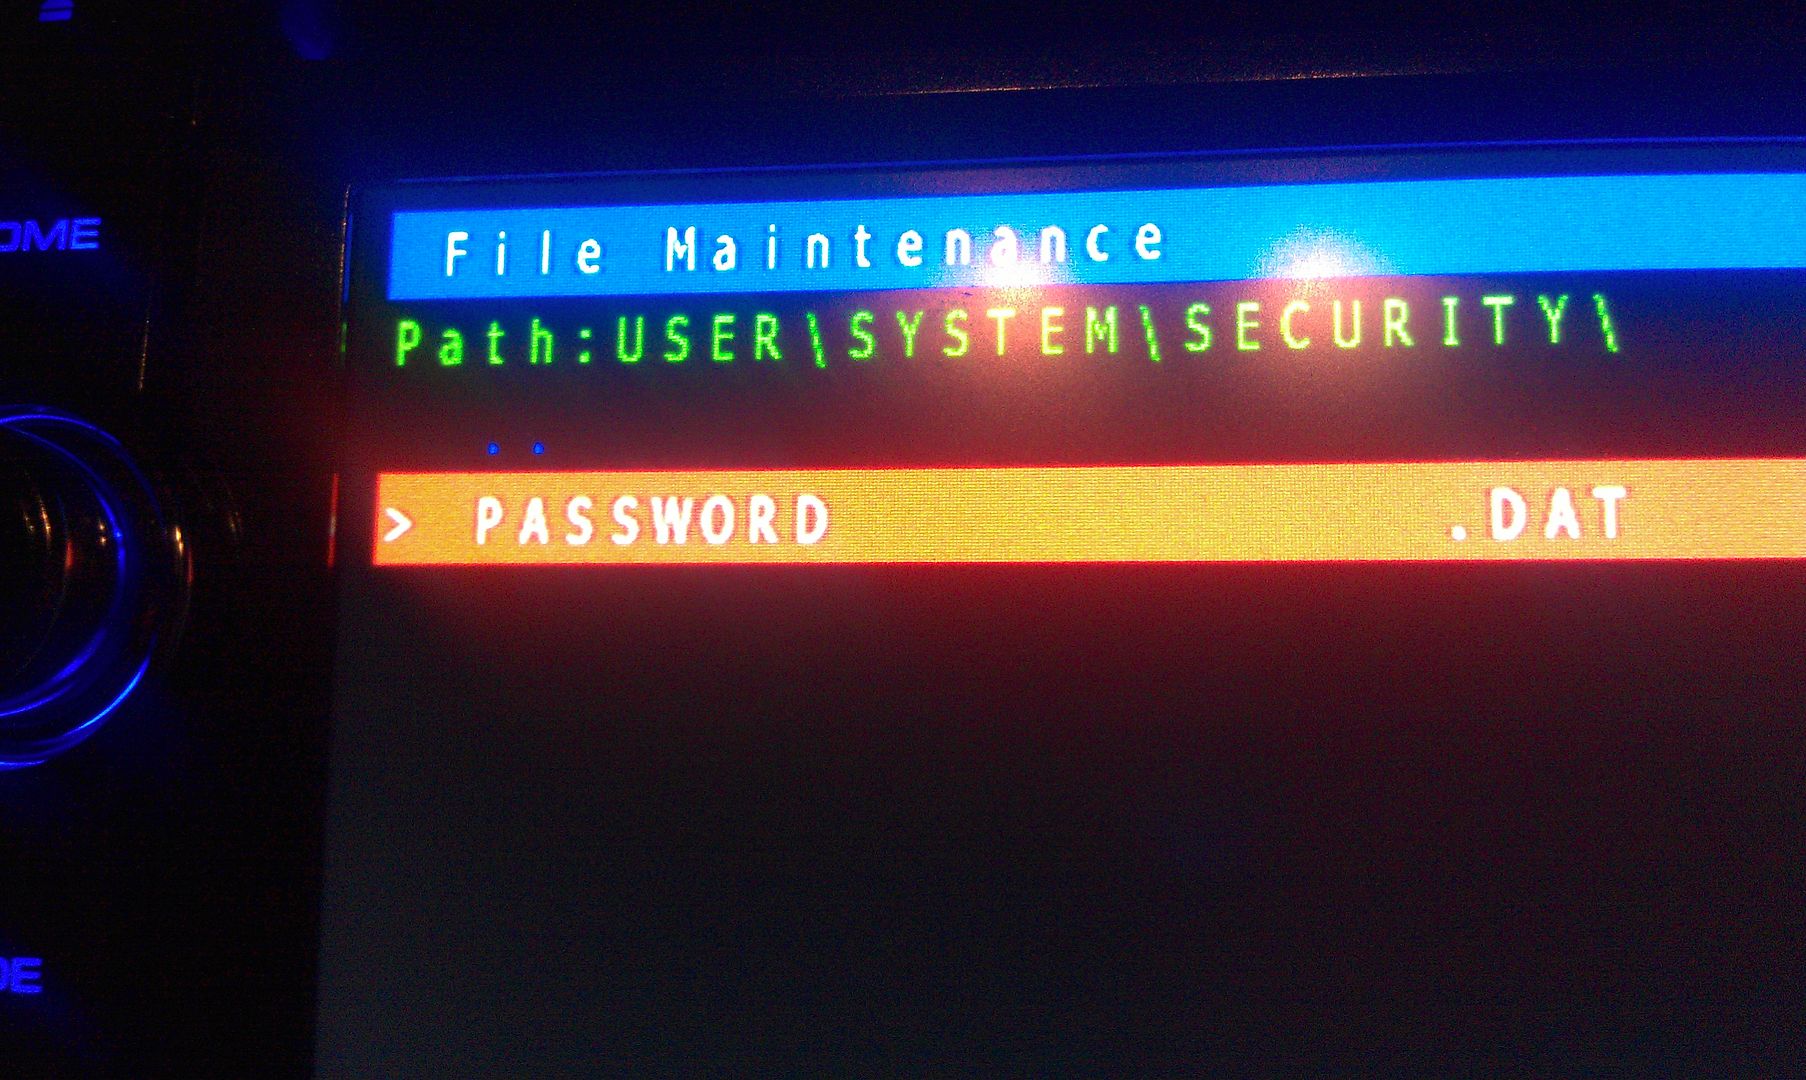
Now go to security and enter it
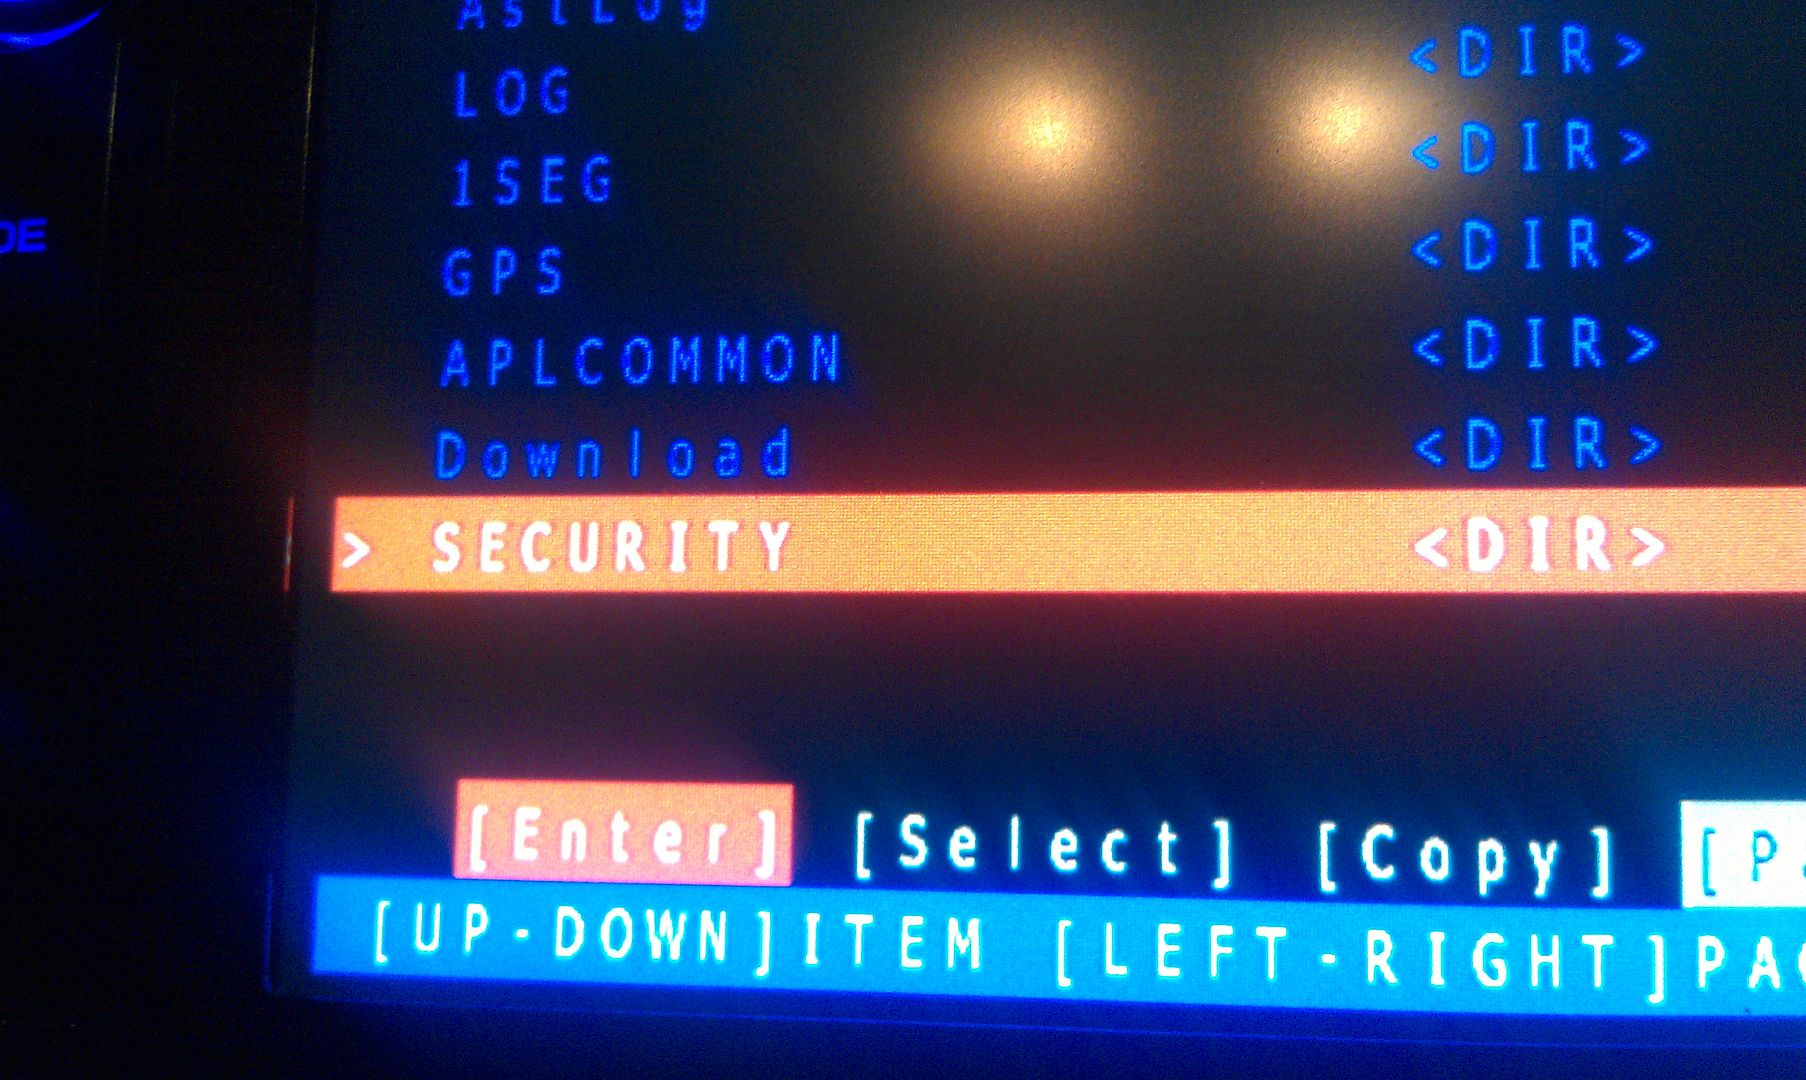
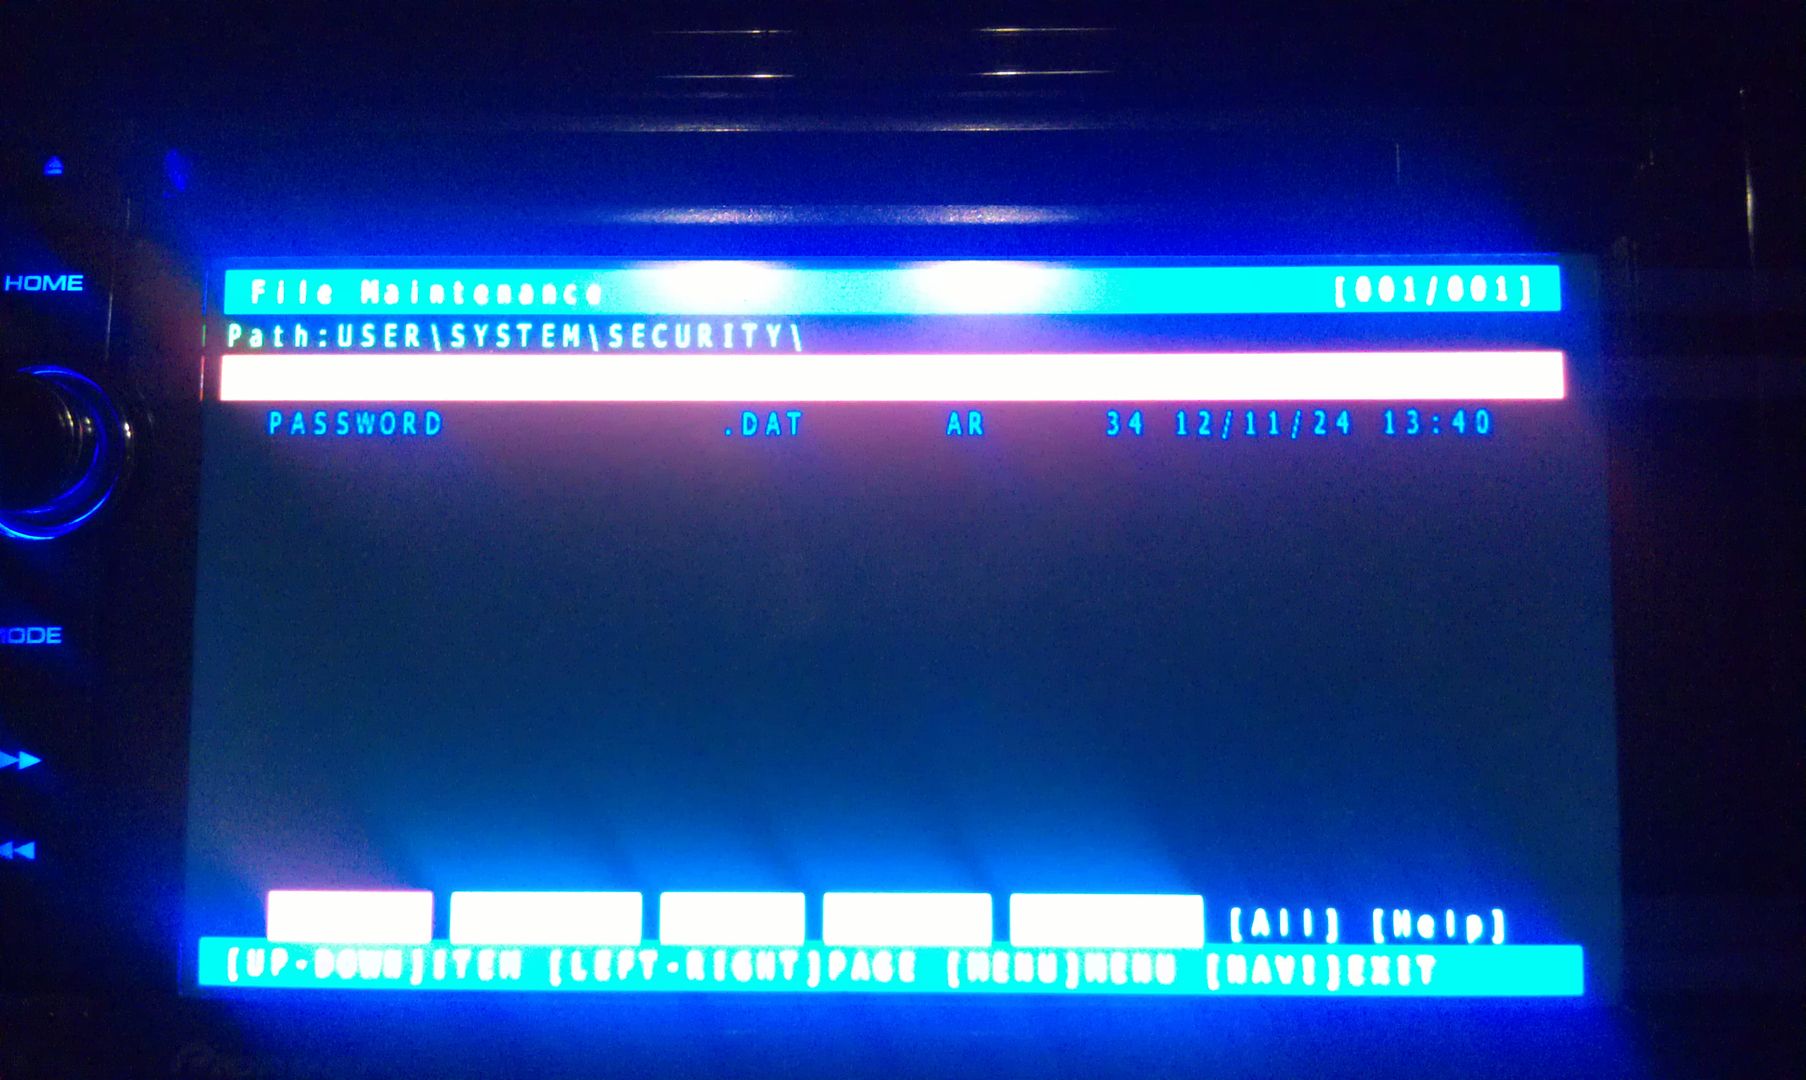
The only thing on the screen at this point is Password, so enter it
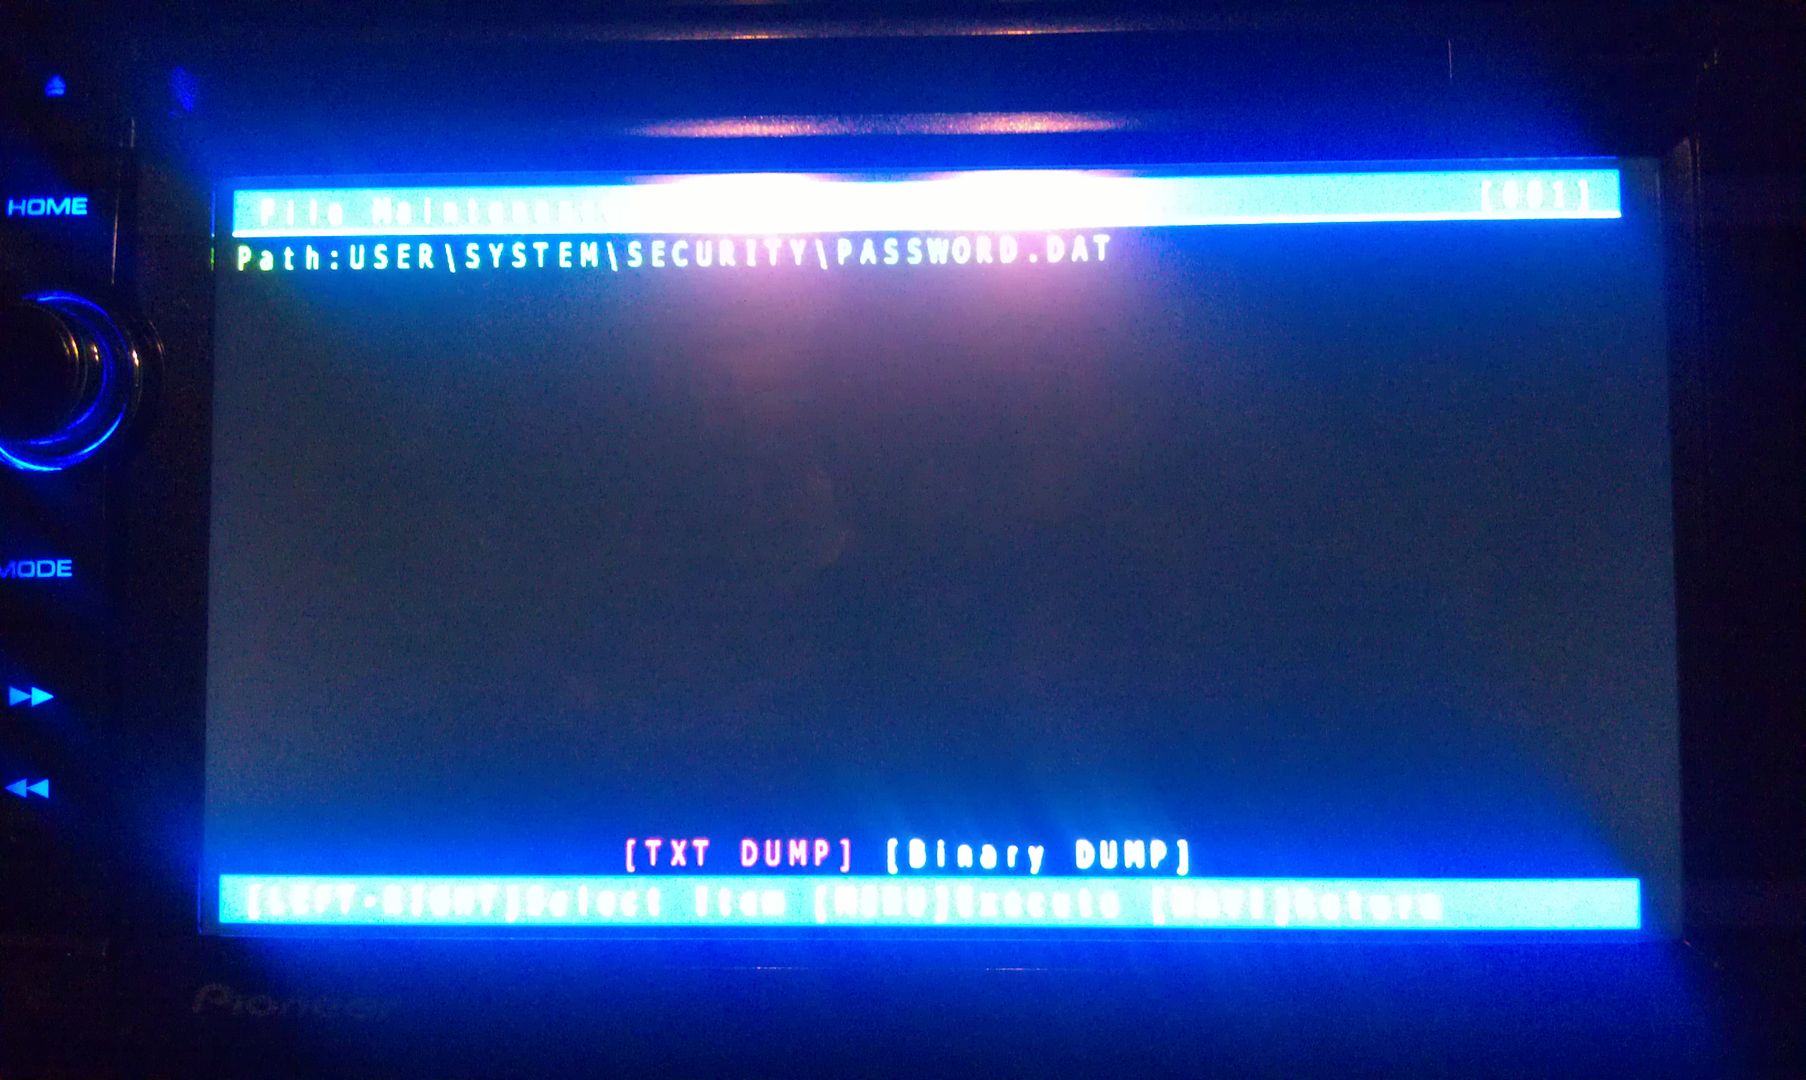
There is only option on this screen that you you are concerned with here, a text dump. You do not have to move the selection around, just press MODE to perform the text dump, and VIOLA, the password that the unit is locked with is displayed near the top left of the screen!
(I've blurred my password out here for obvious reason)
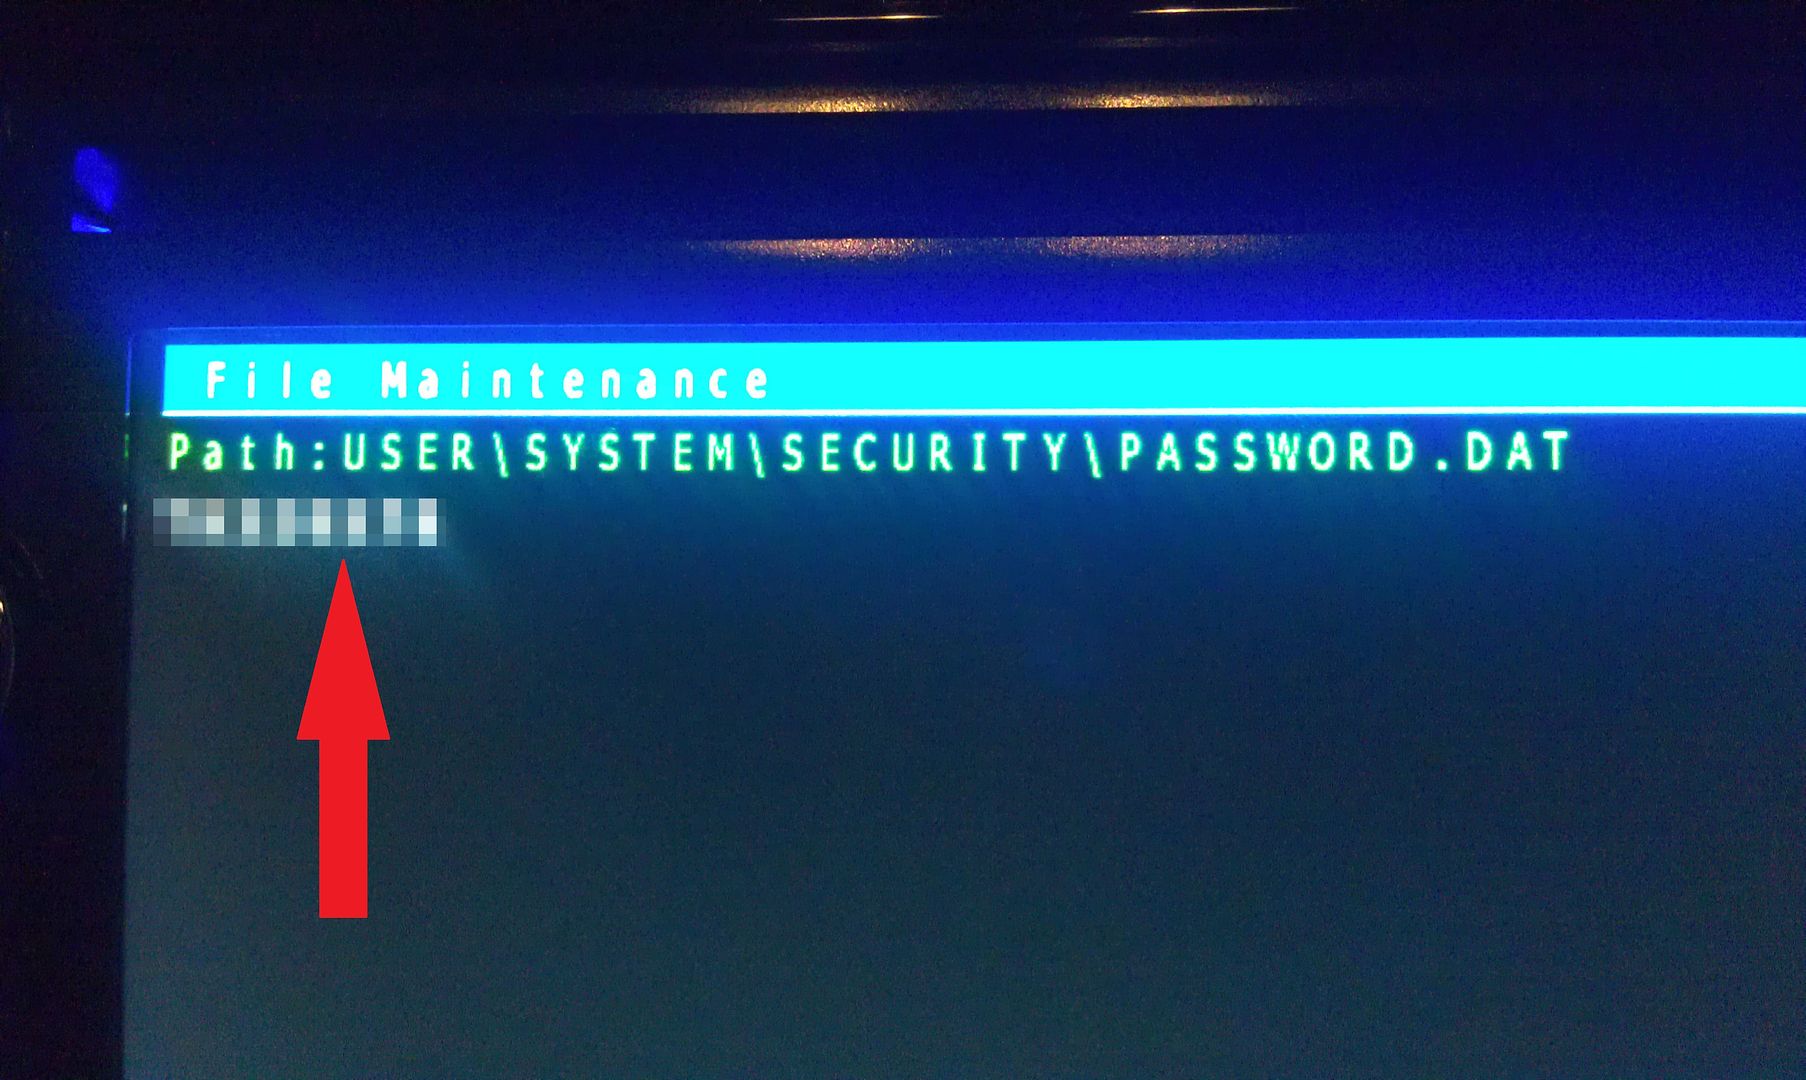
Write this password down (unless is something you can remember), then just back out of all the menus using the HOME key until you get the the first screen, at which point you can power the unit off and remove the SD card. With the card removed, power the unit back up and enter your recovered password when prompted, and enjoy
If you're not going to remember the password you just recovered, I'd suggest changing it. Take a look in the owners manual for those instructions.
Hope that helps everyone a little more!
by the way, I think this thread should become a sticky...
-
Yes, this will upgrade your X930 to X940. The main "upgrade" will be the newer map. As for the rest of your questions, why don't you try it and let us know. Worse comes to worse, you got newer maps.
Well I had that assumption too, but wasn't 100% sure if the maps were going to be updated as well. To tell you the truth, I don't use the Nav a whole lot, but that's a bonus, lol. I know I read about VR not working right; again, no issue with that, that's something else I don't use

Read through this thread once quickly, so I'm about to read through it one more time and get everything in line before I dive in; the LAST thing I want to do is brick this unit; I just put it in and as it is being a 930, it's a BAJILLION times more awesome than D3 it replaced
-
no one? if this give my 930 Aha Android access then I'd like to get this done this week.
-
So, just to be 100% clear, doing this will basically turn my X930BT into an X940BT, and will gain native Android connectivity and functions? I don't have an iDevice, and I don't plan on getting one ANY time soon; I like my rooted Android too much
But I use Slacker Radio a lot (I pay the extra $ each month for an upgraded account) and it would be freeking AWESOME if I could use Slacker stations via Aha on the unit connected to my phone! -
Hi all-
I have a 930BT that I forgot password for- can some one email/call me to walk me thru steps? I would much appreciate!!
maurizioj@gmail.com
thanks!
go back and look at post #1 in this thread... all the instructions are there...
follow them, it works
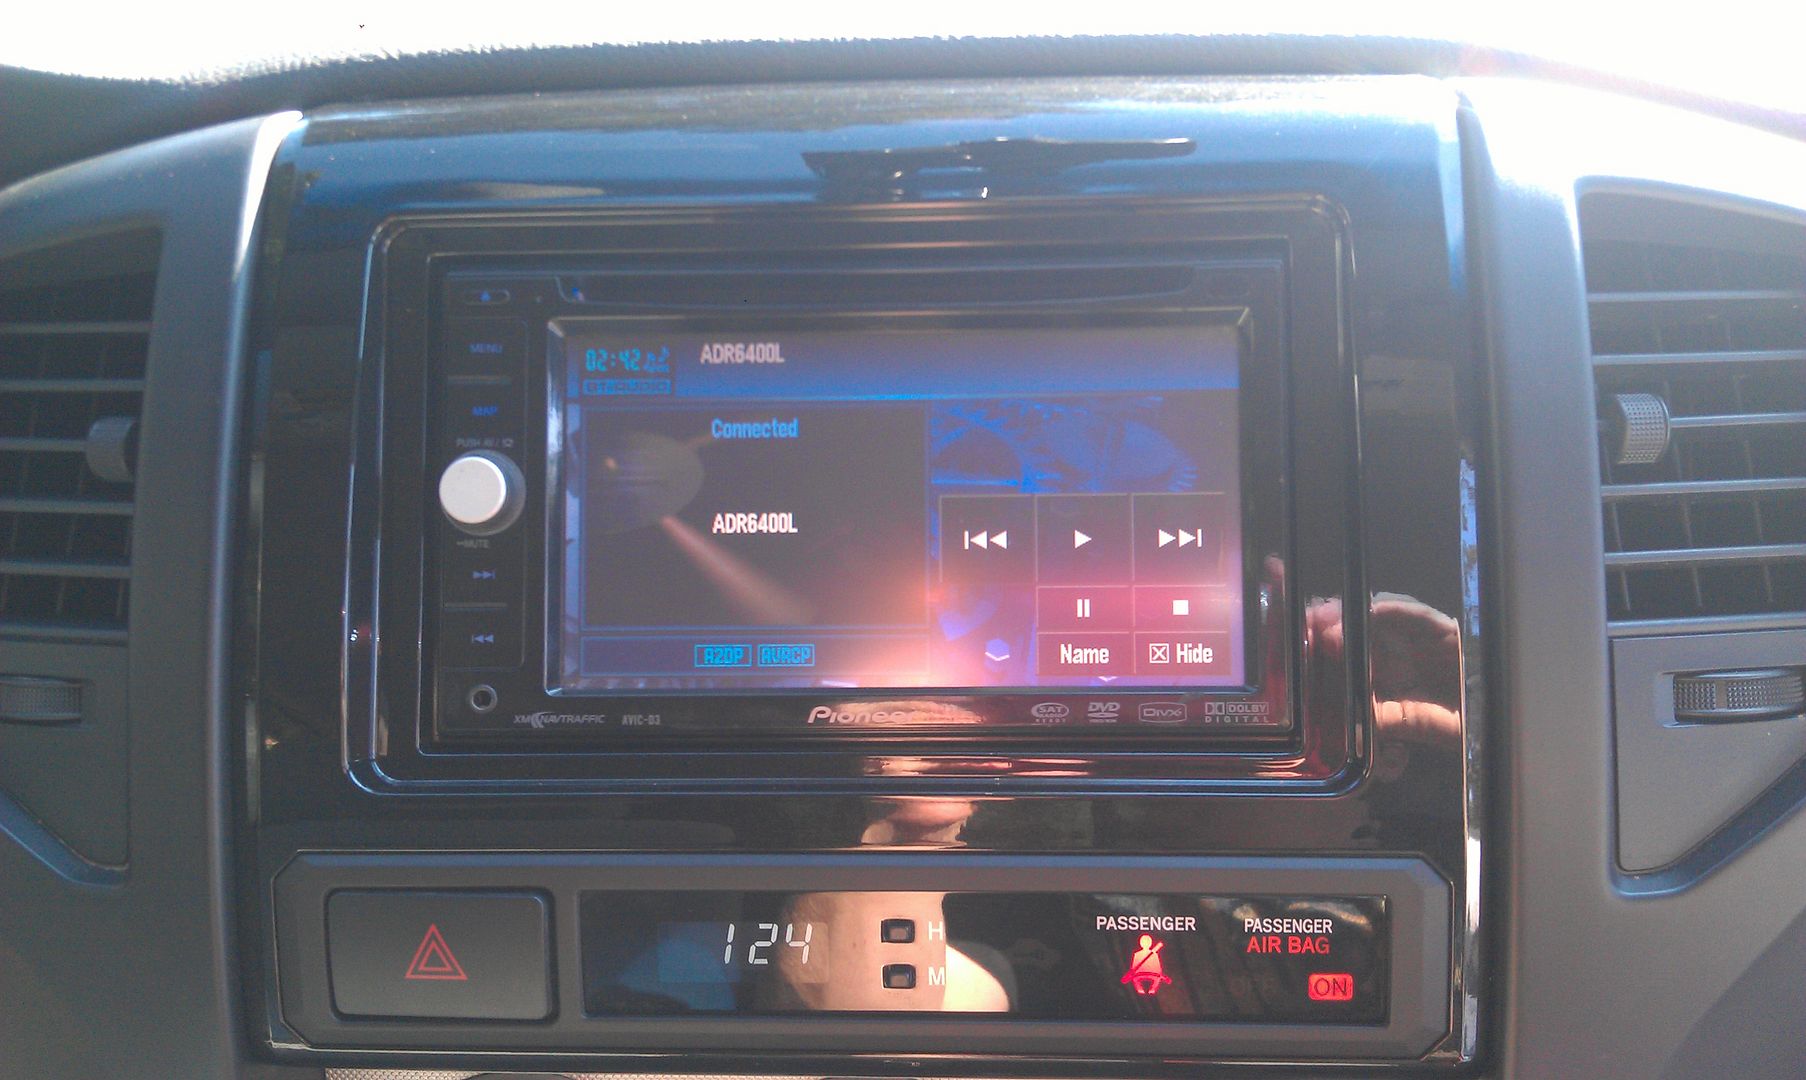
thanks to this thread I got my X930BT unlocked and installed in my Tacoma yesterday
-
I just put an X930BT in my truck yesterday; it replaced a D3. I've been using Slacker Radio on my Android phone for a while now; I use it at work all day and I like to use it in the truck too to stream music over bluetooth. With the D3 and the added on external bluetooth module, the bluetooth would connect with my phone in about 15 seconds after starting the truck; it worked out perfect because by the time Slacker starts up and I select a station to play, the bluetooth pairs and the radio starts playing.
However, the X930BT takes like 25-30 seconds to connect. It works fine and it's not like it makes me not like the unit or anything, it's just more of an inconvenience than anything. Once it connects, streaming audio works fine, skip pause and play work fine, and the phone works great and all of my contacts show up. It just seems to have an unusually long connection time...
Anyone have the same experience? Any way to speed the connection up?
-
nevermind, 32gb card works flawlessly; bench tested, started up and test mode, and recovered the password
-
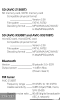
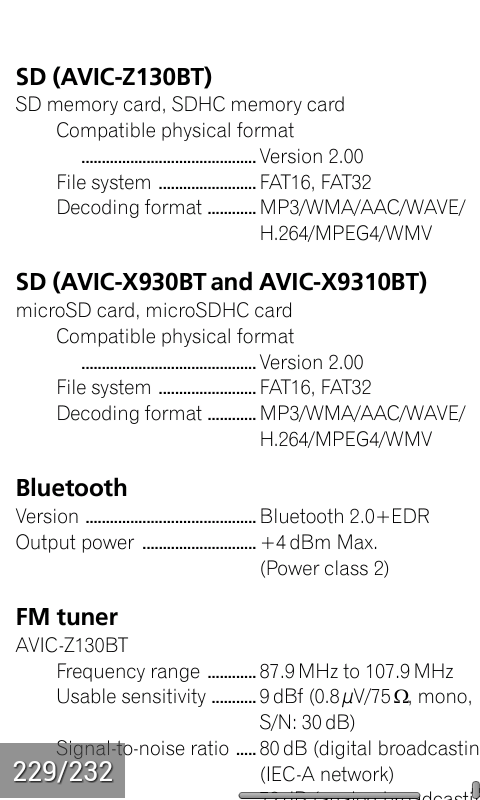
Out of curiosity, what's the max size card this unit can handle? I have to recover it from a password protect (bought it used and didn't get the password...) and I need to load the files to a card to boot it up with to recover the password. All I have at the moment is a 32gb on hand and haven't tried it; it isn't installed in thr truck yet. Just need to know if I need to buy a smaller 8gb or something.
Browsing the manual PDF on my phone, it doesn't mention anything about card capacity it can handle (screen shot below), before anyone just says "read the manual..."
Thanks
-
hmmmm...
I THINK that I have another truck-side harness sitting around somewhere; I might just go ahead and solder it to the Pioneer plug and be done, then all I have to do is unplug the old and plug in the new. The video and sub RCA's are easy enough to swap over.
-
I currently have a D3 in my Toyota Tacoma. I like it, but in my line of work (auto salvage) we come across good units every once in a while, and today an X930BT showed up and I called dibs
Going to try to gain access to it tomorrow and reset the password (thanks to this awesome forum!) and will more than likely be taking it home if not this week, than next week to install into the truck.My question is, can anyone confirm or say otherwise that the plugs for the D3 are identical as they are on the X930BT without me ripping into the dash just to find out? I use audio and video in's and out's with a reverse camera, headrest monitors, and a sub output, so those are all critical.
Also, I have the D3 bypassed with the wire moved method; does that carry over and work the same on the X930BT?
Basically I'm just wondering if it's going to be a clean swap without having to cut the D3 harness off the adapter for the truck and wire it to the harness to the X930BT..
It will be nice to have a unit with built in bluetooth though... using the external ad-on module with my D3, and it's had random connection issues from the day I installed it... plus, the X930BT's interface just looks amazing
Thanks!
-
Just came across an X930BT at work (I work in a salvage yard) and it'll be replacing the D3 currently in my truck, if this works
Thanks for posting this!
-
Can you post a link to the eBay product?
they're all over eBay
here's one that's about to end (will have probably ended by the time you read this)
http://www.ebay.com/...0b05f19&vxp=mtr
what's funny is that it appears to be IDENTICAL to this Pyle unit
http://www.pyleaudio.com/sku/PLCM24IR/-Universal-Mount-Rear-View-Backup-Camera
2017 v7 US/Can Update available for Z110/120/130/140,X920/930/940
in Hacks/Mods
Posted
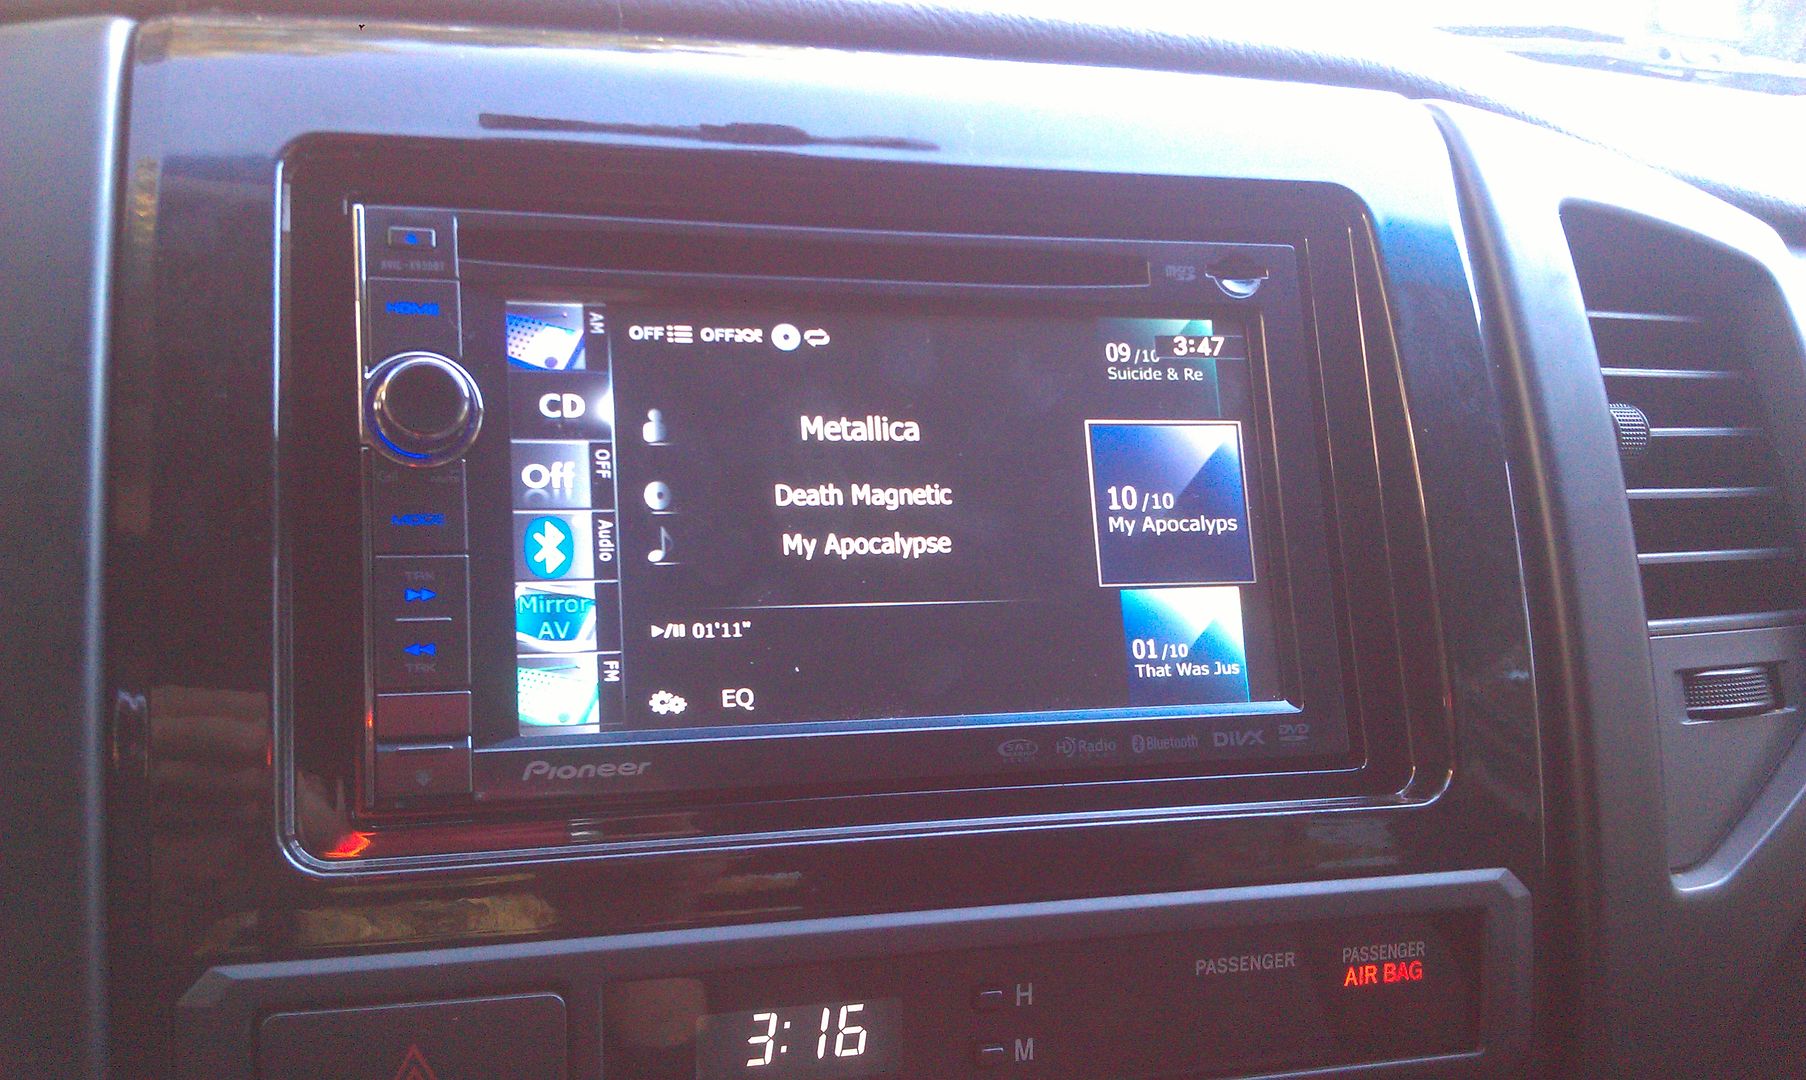
I know it's 2023 now, but having at least 2017 maps is still useful in the old beater Saturn I have my X930BT in, even though I use Google maps most of the time lol. Honestly the main reason for the update for me was the bluetooth update. As I was hoping it would, the bluetooth firmware update enabled media details (tracks, artist, etc) to display on the screen, as well as finally being able to use the back and skip button to control media playback. On the 3.22 firmware that was on my 930, the track info was just left blank and the skip buttons did nothing, which was quite infuriating... But with the 3.32 firmware, it works beautifully!
Following crai6m4ck1 steps worked perfectly without a single hitch.
I love that this forum is still active and keeping these older units alive!